
What are Resource Groups in Azure?
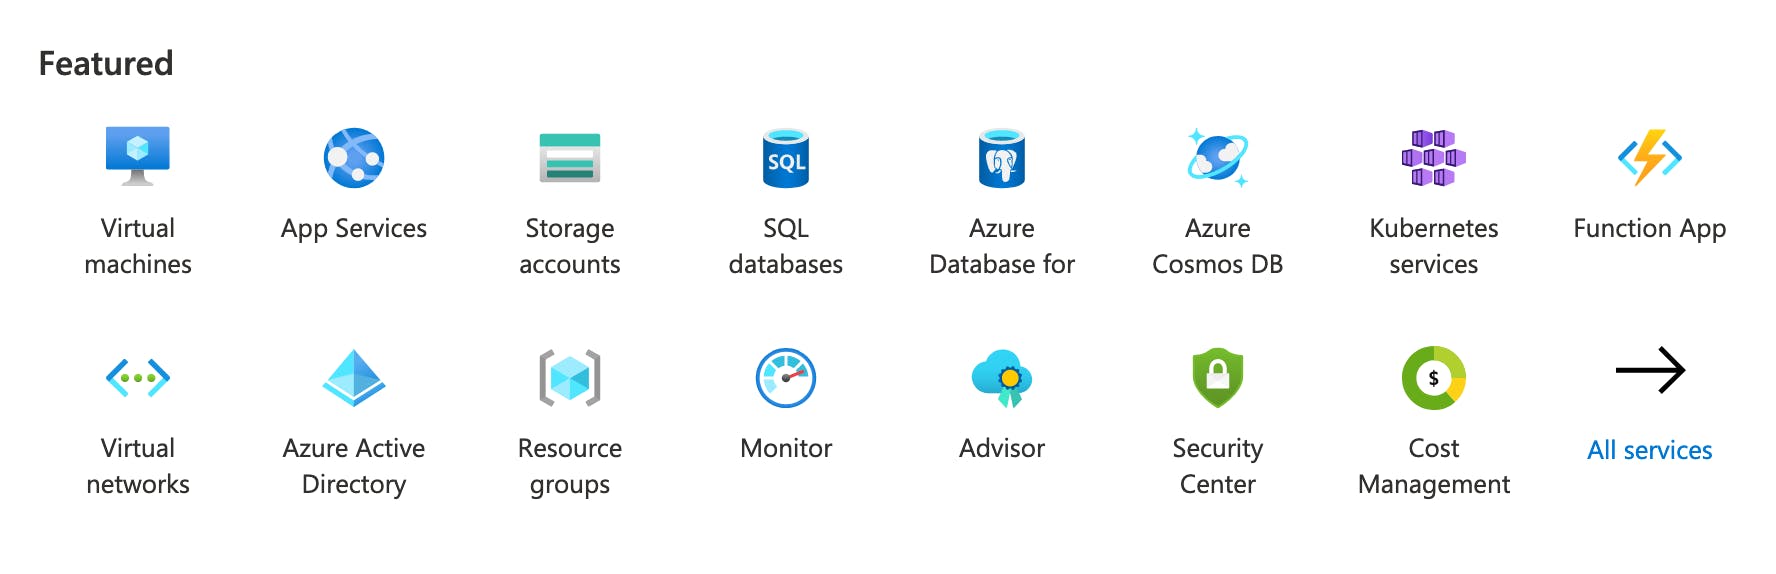
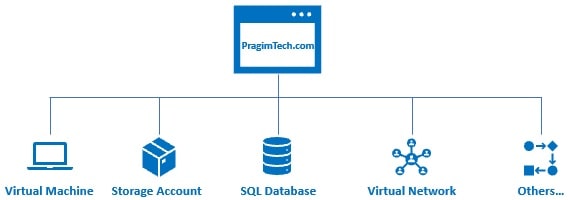
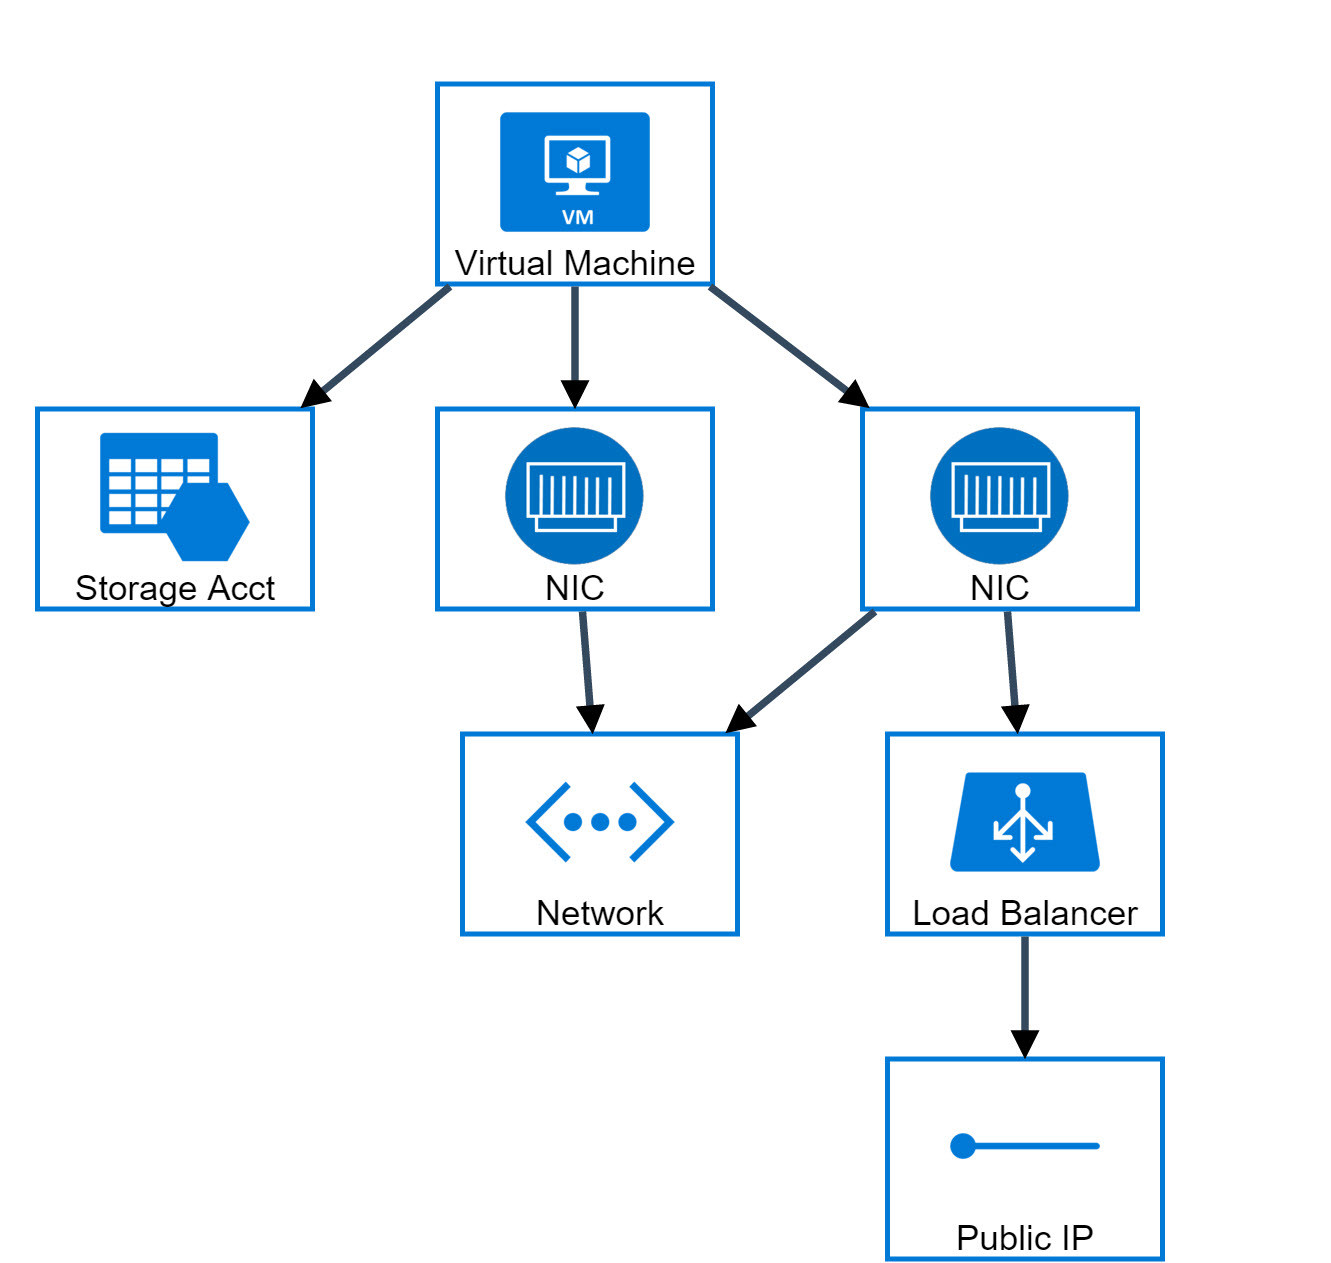
Resource groups in Azure are a fundamental concept for managing related resources in the Azure cloud environment. They serve as a logical container for resources that share a common purpose, such as a web application, a database, or a virtual machine. By grouping related resources together, Azure simplifies the management, access control, monitoring, and billing of these resources.
Resource groups in Azure provide several benefits for managing cloud resources. First, they enable you to manage related resources as a single unit, making it easier to deploy, update, and delete resources as a group. This simplified management reduces the time and effort required to manage individual resources and minimizes the risk of errors or inconsistencies.
Second, resource groups in Azure improve collaboration by enabling multiple users to work together on a common set of resources. By granting access to a resource group, you can provide users with access to all the resources within the group, making it easier to manage permissions and access control. This improved collaboration can lead to faster development cycles, better code quality, and more efficient resource utilization.
Third, resource groups in Azure enable cost optimization by providing a way to track and manage the costs associated with a common set of resources. By assigning tags to resource groups, you can categorize resources based on their purpose, owner, or other criteria, making it easier to track costs and optimize resource utilization. This cost optimization can lead to lower costs, better resource utilization, and improved financial management.
In summary, resource groups in Azure are a powerful tool for managing related resources in the Azure cloud environment. By simplifying management, improving collaboration, and enabling cost optimization, resource groups provide a flexible and scalable way to manage cloud resources. In the following sections, we will discuss the key benefits of resource groups in Azure, how to create and manage resource groups, and best practices for using resource groups in Azure.
Key Benefits of Azure Resource Groups
Resource groups in Azure offer several benefits for managing cloud resources. By using resource groups, you can simplify management, improve collaboration, and optimize costs. In this section, we will discuss these benefits in more detail.
Simplified Management
Resource groups in Azure simplify management by enabling you to manage related resources as a single unit. This simplified management reduces the time and effort required to manage individual resources and minimizes the risk of errors or inconsistencies. By managing resources as a group, you can deploy, update, and delete resources more efficiently, reducing the time and effort required to manage individual resources.
Improved Collaboration
Resource groups in Azure improve collaboration by enabling multiple users to work together on a common set of resources. By granting access to a resource group, you can provide users with access to all the resources within the group, making it easier to manage permissions and access control. This improved collaboration can lead to faster development cycles, better code quality, and more efficient resource utilization.
Cost Optimization
Resource groups in Azure enable cost optimization by providing a way to track and manage the costs associated with a common set of resources. By assigning tags to resource groups, you can categorize resources based on their purpose, owner, or other criteria, making it easier to track costs and optimize resource utilization. This cost optimization can lead to lower costs, better resource utilization, and improved financial management.
In summary, resource groups in Azure offer several benefits for managing cloud resources. By simplifying management, improving collaboration, and enabling cost optimization, resource groups provide a flexible and scalable way to manage cloud resources. In the following sections, we will discuss how to create and manage resource groups in Azure, including best practices for naming conventions and organizing resources.
Creating and Managing Resource Groups in Azure
Resource groups in Azure are a powerful tool for managing related resources in the Azure cloud environment. By grouping related resources together, you can simplify management, improve collaboration, and optimize costs. In this section, we will discuss how to create and manage resource groups in Azure, including best practices for naming conventions and organizing resources.
Creating Resource Groups in Azure
To create a resource group in Azure, follow these steps:
- Log in to the Azure portal.
- Click on the “Create a resource” button in the top left corner of the portal.
- Search for “Resource group” and select “Resource group” from the search results.
- Enter a name for the resource group, select a subscription, and choose a resource group location.
- Click the “Review + Create” button and wait for the resource group to be created.
Managing Resource Groups in Azure
Once you have created a resource group, you can manage it by following these steps:
- Log in to the Azure portal.
- Click on the “Resource groups” button in the left-hand navigation menu.
- Select the resource group you want to manage.
- From the resource group overview page, you can add or remove resources, manage access control and permissions, and monitor resource usage.
Best Practices for Naming Conventions and Organizing Resources
When creating and managing resource groups in Azure, follow these best practices:
- Use a consistent naming convention for resource groups, such as “env-name-team”, where “env” represents the environment (e.g., dev, test, prod), “name” represents the name of the application or service, and “team” represents the team responsible for the resource group.
- Organize resources by function, such as grouping all web servers in one resource group and all database servers in another resource group.
- Limit the number of resources in each resource group to improve manageability and reduce the risk of errors or inconsistencies.
- Use tags to categorize resource groups based on their purpose, owner, or other criteria, making it easier to track costs and optimize resource utilization.
In summary, creating and managing resource groups in Azure is a simple process that can help you simplify management, improve collaboration, and optimize costs. By following best practices for naming conventions and organizing resources, you can ensure that your resource groups are easy to manage, scalable, and secure. In the following sections, we will discuss how to add and remove resources from Azure resource groups, including examples and screenshots.
How to Add and Remove Resources from Azure Resource Groups
Resource groups in Azure are a powerful tool for managing related resources in the Azure cloud environment. By grouping related resources together, you can simplify management, improve collaboration, and optimize costs. In this section, we will discuss how to add and remove resources from Azure resource groups, including examples and screenshots.
Adding Resources to Azure Resource Groups
To add a resource to a resource group in Azure, follow these steps:
- Log in to the Azure portal.
- Click on the “Resource groups” button in the left-hand navigation menu.
- Select the resource group you want to add a resource to.
- Click on the “Add” button in the top left corner of the resource group overview page.
- Search for the resource you want to add and select it from the search results.
- Configure the resource settings and click the “Create” button.
Once the resource has been created, it will be added to the resource group and will be managed as part of the resource group.
Removing Resources from Azure Resource Groups
To remove a resource from a resource group in Azure, follow these steps:
- Log in to the Azure portal.
- Click on the “Resource groups” button in the left-hand navigation menu.
- Select the resource group that contains the resource you want to remove.
- Click on the resource you want to remove to open its settings page.
- Click on the “Delete” button in the top menu bar.
- Confirm the deletion by typing the name of the resource in the confirmation dialog and clicking the “Delete” button.
Once the resource has been deleted, it will no longer be managed as part of the resource group and will no longer be subject to access control, monitoring, or billing within the resource group.
Best Practices for Adding and Removing Resources
When adding and removing resources from Azure resource groups, follow these best practices:
- Use tags to categorize resources based on their purpose, owner, or other criteria, making it easier to track costs and optimize resource utilization.
- Limit the number of resources in each resource group to improve manageability and reduce the risk of errors or inconsistencies.
- Use role-based access control (RBAC) and Azure Active Directory (Azure AD) to manage access control and permissions for resources within the resource group.
- Monitor resource usage and optimize costs by using Azure Monitor, Azure Log Analytics, and Azure Advisor.
In summary, adding and removing resources from Azure resource groups is a simple process that can help you simplify management, improve collaboration, and optimize costs. By following best practices for adding and removing resources, you can ensure that your resource groups are easy to manage, scalable, and secure. In the following sections, we will discuss how to manage access control and permissions in Azure resource groups, including role-based access control (RBAC) and Azure Active Directory (Azure AD).
Access Control and Permissions in Azure Resource Groups
Resource groups in Azure are a powerful tool for managing related resources in the Azure cloud environment. By grouping related resources together, you can simplify management, improve collaboration, and optimize costs. In this section, we will discuss how to manage access control and permissions in Azure resource groups, including role-based access control (RBAC) and Azure Active Directory (Azure AD).
Role-Based Access Control (RBAC) in Azure Resource Groups
Role-based access control (RBAC) is a powerful feature in Azure that enables you to manage access control and permissions for resources within a resource group. With RBAC, you can assign roles to users, groups, and services, defining the specific actions they can perform on resources within the resource group.
To assign a role to a user, group, or service in Azure, follow these steps:
- Log in to the Azure portal.
- Click on the “Resource groups” button in the left-hand navigation menu.
- Select the resource group that you want to assign roles to.
- Click on the “Access control (IAM)” button in the top menu bar.
- Click on the “Add” button in the top left corner of the Access control page.
- Select the role you want to assign from the list of available roles.
- Enter the name or email address of the user, group, or service you want to assign the role to.
- Click the “Save” button to assign the role.
Azure Active Directory (Azure AD) in Azure Resource Groups
Azure Active Directory (Azure AD) is a cloud-based identity and access management service that provides centralized authentication and authorization for Azure resources. By using Azure AD, you can manage access control and permissions for users, groups, and services across multiple resource groups and subscriptions.
To use Azure AD with Azure resource groups, follow these steps:
- Log in to the Azure portal.
- Click on the “Azure Active Directory” button in the left-hand navigation menu.
- Click on the “App registrations” button in the top menu bar.
- Click on the “New registration” button to create a new app registration.
- Enter a name for the app registration and select the supported account types.
- Click the “Register” button to create the app registration.
- Click on the “Certificates & secrets” button in the top menu bar.
- Click on the “New client secret” button to create a new client secret.
- Enter a description for the client secret and select the expiration period.
- Click the “Add” button to create the client secret.
- Copy the client secret value and save it in a secure location.
- Click on the “API permissions” button in the top menu bar.
- Click on the “Add a permission” button and select the API you want to access.
- Select the permissions you want to grant to the app registration.
- Click the “Add permissions” button to grant the permissions.
- Click on the “Overview” button in the top menu bar.
- Copy the “Application (client) ID” value and save it in a secure location.
- Use the application (client) ID and client secret to authenticate and authorize access to Azure resources.
Best Practices for Access Control and Permissions
When managing access control and permissions in Azure resource groups, follow these best practices:
- Use role-based access control (RBAC) to assign roles to users, groups, and services, defining the specific actions they can perform on resources within the resource group.
- Use Azure Active Directory (Azure AD) to manage access control and permissions for users, groups, and services across multiple resource groups and subscriptions.
- Limit the number of users, groups, and services with access to a resource group to reduce the risk of errors or inconsistencies.
- Monitor access control and permissions regularly to ensure that they are up-to-date and reflect the current needs of the organization.
In summary, managing access control and permissions in Azure resource groups is a critical aspect of managing related resources in the Azure cloud environment. By using role-based access control (RBAC) and Azure Active Directory (Azure AD), you can simplify management, improve collaboration, and optimize costs. By following best practices for access control and permissions, you can ensure that your resource groups are easy to manage, scalable, and secure. In the following sections, we will discuss how to monitor and troubleshoot Azure resource groups, including using Azure Monitor, Azure Log Analytics, and Azure Advisor.
Monitoring and Troubleshooting Azure Resource Groups
Resource groups in Azure are a powerful tool for managing related resources in the Azure cloud environment. By grouping related resources together, you can simplify management, improve collaboration, and optimize costs. In this section, we will discuss how to monitor and troubleshoot Azure resource groups, including using Azure Monitor, Azure Log Analytics, and Azure Advisor.
Monitoring Azure Resource Groups
Monitoring Azure resource groups is an important aspect of managing related resources in the Azure cloud environment. By monitoring resource groups, you can ensure that they are running efficiently, identify and resolve issues quickly, and optimize costs.
To monitor Azure resource groups, follow these steps:
- Log in to the Azure portal.
- Click on the “Resource groups” button in the left-hand navigation menu.
- Select the resource group you want to monitor.
- Click on the “Metrics” button in the top menu bar.
- Select the metrics you want to monitor, such as CPU usage, memory usage, and network usage.
- Configure the time range, granularity, and aggregation for the metrics.
- Click the “Apply” button to start monitoring the metrics.
Troubleshooting Azure Resource Groups
Troubleshooting Azure resource groups is an important aspect of managing related resources in the Azure cloud environment. By troubleshooting resource groups, you can identify and resolve issues quickly, minimize downtime, and optimize costs.
To troubleshoot Azure resource groups, follow these steps:
- Log in to the Azure portal.
- Click on the “Resource groups” button in the left-hand navigation menu.
- Select the resource group you want to troubleshoot.
- Click on the “Activity log” button in the top menu bar.
- Filter the activity log by time range, resource type, and operation.
- Review the activity log to identify any issues or errors.
- Click on the issue or error to view more details and take corrective action.
Using Azure Monitor, Azure Log Analytics, and Azure Advisor
Azure Monitor, Azure Log Analytics, and Azure Advisor are powerful tools that can help you monitor and troubleshoot Azure resource groups. By using these tools, you can gain insights into the performance, availability, and security of your resource groups, identify and resolve issues quickly, and optimize costs.
To use Azure Monitor, Azure Log Analytics, and Azure Advisor, follow these steps:
- Log in to the Azure portal.
- Click on the “Monitor” button in the left-hand navigation menu.
- Click on the “Azure Monitor” button in the top menu bar.
- Configure Azure Monitor to collect data from your resource groups.
- Click on the “Logs” button in the top menu bar to open Azure Log Analytics.
- Write queries to analyze the data collected by Azure Monitor.
- Click on the “Advisor” button in the top menu bar to open Azure Advisor.
- Review the recommendations provided by Azure Advisor to optimize the performance, availability, and security of your resource groups.
Best Practices for Monitoring and Troubleshooting
When monitoring and troubleshooting Azure resource groups, follow these best practices:
- Monitor resource groups regularly to ensure that they are running efficiently and identify and resolve issues quickly.
- Use Azure Monitor, Azure Log Analytics, and Azure Advisor to gain insights into the performance, availability, and security of your resource groups.
- Review the activity log regularly to identify any issues or errors and take corrective action.
- Optimize costs by identifying and resolving issues quickly and minimizing downtime.
In summary, monitoring and troubleshooting Azure resource groups is a critical aspect of managing related resources in the Azure cloud environment. By using Azure Monitor, Azure Log Analytics, and Azure Advisor, you can gain insights into the performance, availability, and security of your resource groups, identify and resolve issues quickly, and optimize costs. By following best practices for monitoring and troubleshooting, you can ensure that your resource groups are easy to manage, scalable, and secure. In the following sections, we will provide best practices for using Azure resource groups, such as using tags for cost allocation, implementing naming conventions, and following security guidelines.

Best Practices for Using Resource Groups in Azure
Resource groups in Azure are a powerful tool for managing related resources in the Azure cloud environment. By following best practices for using resource groups, you can simplify management, improve collaboration, and optimize costs. In this section, we will provide best practices for using resource groups in Azure, such as using tags for cost allocation, implementing naming conventions, and following security guidelines.
Using Tags for Cost Allocation
Tags are metadata that you can assign to Azure resources to categorize and organize them. By using tags, you can allocate costs to specific departments, projects, or teams, making it easier to track and manage expenses. To use tags for cost allocation, follow these best practices:
- Use a consistent naming convention for tags, such as “Department:HR” or “Project:Contoso-App”.
- Assign tags to all Azure resources, including virtual machines, storage accounts, and SQL databases.
- Review tags regularly to ensure that they are up-to-date and reflect the current needs of the organization.
Implementing Naming Conventions
Naming conventions are a set of rules that you can use to name Azure resources in a consistent and organized manner. By implementing naming conventions, you can easily identify and manage resources, improve collaboration, and reduce errors. To implement naming conventions, follow these best practices:
- Use a consistent naming convention for resources, such as “Contoso-WebApp-Dev” or “Contoso-SQLDB-Prod”.
- Include relevant information in the name, such as the environment, application name, or resource type.
- Avoid using abbreviations or acronyms that may be confusing or difficult to understand.
Following Security Guidelines
Security is a critical aspect of managing Azure resources. By following security guidelines, you can protect your resources from unauthorized access, data breaches, and other security threats. To follow security guidelines, follow these best practices:
- Use role-based access control (RBAC) to manage access to Azure resources.
- Limit access to Azure resources to only those who need it.
- Use Azure Security Center to monitor and protect Azure resources.
- Regularly review and update security policies and procedures.
Additional Best Practices
In addition to using tags for cost allocation, implementing naming conventions, and following security guidelines, consider these additional best practices for using resource groups in Azure:
- Organize resources by lifecycle, such as development, testing, and production.
- Regularly review and clean up unused or unnecessary resources.
- Use Azure Policy to enforce compliance with organizational standards and policies.
- Use Azure Resource Manager (ARM) templates to automate the deployment and configuration of Azure resources.
In summary, using resource groups in Azure can help you simplify management, improve collaboration, and optimize costs. By following best practices for using resource groups, such as using tags for cost allocation, implementing naming conventions, and following security guidelines, you can ensure that your Azure resources are easy to manage, scalable, and secure. In the following sections, we will share real-world examples of Azure resource groups and how they are used in different scenarios, such as development, testing, and production environments.
Real-World Examples of Azure Resource Groups
Resource groups in Azure are a powerful tool for managing related resources in the Azure cloud environment. By grouping related resources together, you can simplify management, improve collaboration, and optimize costs. In this section, we will share real-world examples of Azure resource groups and how they are used in different scenarios, such as development, testing, and production environments.
Development Environments
In development environments, resource groups can be used to group resources that are used for development, testing, and debugging. By using resource groups in development environments, you can simplify management, improve collaboration, and reduce costs. For example, you can create a resource group for each development team, such as “Contoso-Dev-TeamA” or “Contoso-Dev-TeamB”. Within each resource group, you can add resources such as virtual machines, storage accounts, and SQL databases. By using tags for cost allocation, you can track and manage expenses for each development team.
Testing Environments
In testing environments, resource groups can be used to group resources that are used for testing and quality assurance. By using resource groups in testing environments, you can simplify management, improve collaboration, and reduce costs. For example, you can create a resource group for each testing environment, such as “Contoso-Test-Env1” or “Contoso-Test-Env2”. Within each resource group, you can add resources such as virtual machines, storage accounts, and application insights. By using access control and permissions, you can limit access to testing environments to only those who need it.
Production Environments
In production environments, resource groups can be used to group resources that are used for delivering applications and services to customers. By using resource groups in production environments, you can simplify management, improve collaboration, and optimize costs. For example, you can create a resource group for each production environment, such as “Contoso-Prod-App1” or “Contoso-Prod-App2”. Within each resource group, you can add resources such as virtual machines, storage accounts, and SQL databases. By using monitoring and troubleshooting tools, you can ensure that production environments are running efficiently and identify and resolve issues quickly.
Disaster Recovery Environments
In disaster recovery environments, resource groups can be used to group resources that are used for disaster recovery and business continuity. By using resource groups in disaster recovery environments, you can simplify management, improve collaboration, and reduce costs. For example, you can create a resource group for each disaster recovery environment, such as “Contoso-DR-Site1” or “Contoso-DR-Site2”. Within each resource group, you can add resources such as virtual machines, storage accounts, and backup vaults. By using access control and permissions, you can limit access to disaster recovery environments to only those who need it.
In summary, resource groups in Azure are a powerful tool for managing related resources in the Azure cloud environment. By sharing real-world examples of Azure resource groups and how they are used in different scenarios, such as development, testing, and production environments, you can see how resource groups can help simplify management, improve collaboration, and optimize costs. By following best practices for using resource groups, such as using tags for cost allocation, implementing naming conventions, and following security guidelines, you can ensure that your Azure resources are easy to manage, scalable, and secure.
