Getting Started: Installing PowerShell for Windows Azure
To get started with PowerShell for Windows Azure, you’ll first need to install the necessary software on your local machine. This process is straightforward and can be completed in a few simple steps. Here’s a step-by-step guide to installing PowerShell for Windows Azure:
- Begin by visiting the official Microsoft website and downloading the latest version of the Windows Azure PowerShell module. Make sure to select the correct version for your operating system (32-bit or 64-bit).
- Once the download is complete, locate the installer package (.msi file) and double-click it to begin the installation process. Follow the on-screen instructions to complete the installation.
- After installation, open the Windows Azure PowerShell console by clicking the Start button, typing “Windows Azure PowerShell” in the search bar, and pressing Enter. This will launch the console with a command prompt.
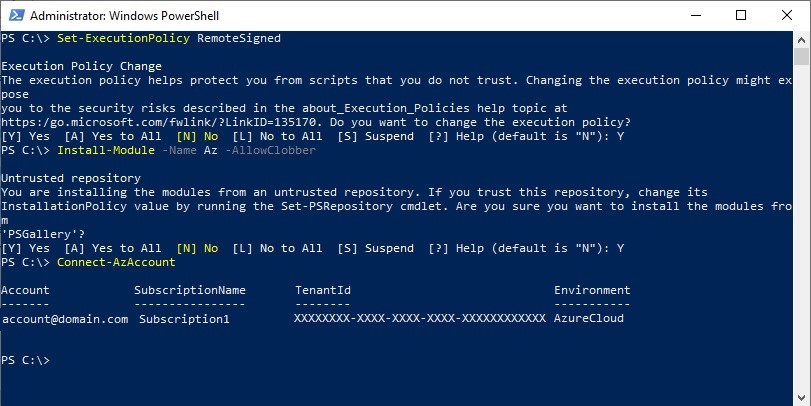
- Before using PowerShell for Windows Azure, you’ll need to connect to your Windows Azure subscription. To do this, enter the “Add-AzureAccount” command in the console and press Enter. This will prompt you to enter your Windows Azure account credentials.
- Once you’ve successfully connected to your Windows Azure subscription, you’re ready to start using PowerShell for Windows Azure!
Note that you may need administrative privileges to install the Windows Azure PowerShell module. Additionally, ensure that your system meets the necessary requirements, such as having the .NET Framework 4.5 or later installed.
Understanding the Basics: PowerShell Commands for Windows Azure
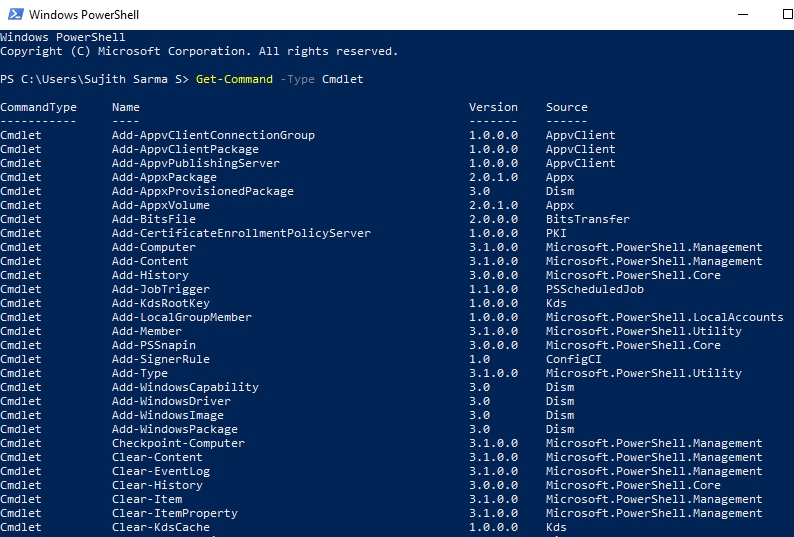
PowerShell for Windows Azure provides a wide range of commands for managing and operating various Azure resources. Here are some essential PowerShell commands for Windows Azure that you should be familiar with:
1. Get-AzureSubscription
This command displays the details of your Windows Azure subscription(s), including the subscription name, ID, and current status.
2. Select-AzureSubscription
Use this command to select the Windows Azure subscription you want to work with. This command is particularly useful when you have multiple subscriptions and need to switch between them.
3. Get-AzureVM
This command retrieves information about your Azure virtual machines, including their names, IP addresses, and current status.
4. New-AzureVM
Use this command to create a new virtual machine in Windows Azure. You’ll need to specify the VM configuration, such as the name, size, image, and networking settings.
5. Start-AzureVM
This command starts a virtual machine that is currently stopped.
6. Stop-AzureVM
Use this command to stop a running virtual machine.
7. Remove-AzureVM
This command deletes a virtual machine from Windows Azure.
8. Get-AzureStorageAccount
This command retrieves information about your Azure storage accounts, including the name, URL, and current status.
9. New-AzureStorageAccount
Use this command to create a new Azure storage account. You’ll need to specify the account name, location, and replication settings.
These are just a few of the many PowerShell commands available for Windows Azure. To get the most out of PowerShell for Windows Azure, it’s essential to familiarize yourself with these commands and practice using them to manage your Azure resources.

How to: Manage Virtual Machines with PowerShell for Windows Azure
PowerShell for Windows Azure provides a powerful and flexible way to manage virtual machines (VMs) in your Azure environment. Here’s how to get started:
Creating a Virtual Machine
To create a new VM using PowerShell for Windows Azure, follow these steps:
- Launch the PowerShell console and connect to your Azure subscription using the “Add-AzureAccount” command.
- Select the subscription you want to use with the “Select-AzureSubscription” command.
- Create a new VM configuration using the “New-AzureVMConfig” command. This command allows you to specify the VM name, size, image, and other settings.
- Set up the VM’s networking and storage settings using the “Set-AzureSubnet” and “Add-AzureDataDisk” commands, respectively.
- Create the VM using the “New-AzureVM” command.
Starting, Stopping, and Deleting a Virtual Machine
To start, stop, or delete a VM using PowerShell for Windows Azure, follow these steps:
- Launch the PowerShell console and connect to your Azure subscription using the “Add-AzureAccount” command.
- Select the subscription you want to use with the “Select-AzureSubscription” command.
- Retrieve the VM using the “Get-AzureVM” command.
- Start, stop, or delete the VM using the “Start-AzureVM”, “Stop-AzureVM”, or “Remove-AzureVM” commands, respectively.
By following these steps, you can effectively manage your Azure VMs using PowerShell for Windows Azure. Remember to always double-check your commands and settings before executing them, as mistakes can lead to unexpected downtime or data loss.

Best Practices: Implementing Security for Windows Azure with PowerShell
PowerShell for Windows Azure offers several features and tools to help you implement and manage security for your Azure resources. Here are some best practices to follow:
1. Use Strong Passwords and Multi-Factor Authentication
Ensure that all user accounts have strong passwords and consider enabling multi-factor authentication for added security. This can help prevent unauthorized access to your Azure environment.
2. Implement Role-Based Access Control (RBAC)
RBAC allows you to control who has access to specific Azure resources and what actions they can perform. Use RBAC to assign appropriate roles to users and groups, and limit access to only what is necessary.
3. Regularly Review Access and Permissions
Regularly review user access and permissions to ensure that only authorized users have access to your Azure resources. Use the “Get-AzureRole” and “Get-AzureRoleAssignment” commands to view role assignments and permissions.
4. Use Encryption for Data at Rest and in Transit
Use encryption to protect data at rest and in transit. Azure Storage Service Encryption (SSE) and Azure Disk Encryption (ADE) can help protect data at rest, while Azure Virtual Network (VNet) and Secure Sockets Layer/Transport Layer Security (SSL/TLS) can help protect data in transit.
5. Implement Network Security Groups (NSGs) and Firewall Rules
Use NSGs and firewall rules to control inbound and outbound traffic to your Azure resources. This can help prevent unauthorized access and reduce the risk of attacks.
6. Use Azure Security Center
Azure Security Center provides a centralized dashboard for monitoring and managing the security of your Azure resources. Use Security Center to identify vulnerabilities, detect threats, and implement security recommendations.
By following these best practices, you can help ensure the security of your Windows Azure environment using PowerShell. Remember to regularly review and update your security policies to stay ahead of new threats and vulnerabilities.

Optimizing Performance: Tips and Tricks for PowerShell in Windows Azure
PowerShell for Windows Azure is a powerful tool for managing and automating Azure resources. To get the most out of PowerShell, it’s essential to optimize its performance. Here are some tips and tricks to help you do just that:
1. Use Modules and Cmdlets
PowerShell modules and cmdlets are pre-built functions that simplify common tasks and automate processes. Use these modules and cmdlets to save time and reduce the risk of errors. For example, the “AzureRM” module provides cmdlets for managing Azure resources, while the “Azure” module provides cmdlets for managing Azure services.
2. Use Background Jobs
Background jobs allow you to run PowerShell commands asynchronously, freeing up resources and improving performance. Use the “Start-Job” cmdlet to run a command in the background, and the “Get-Job” cmdlet to check its status.
3. Use Pipelining
Pipelining allows you to pass the output of one cmdlet as input to another, reducing the need for intermediate variables and improving performance. For example, you can use the following command to retrieve all Azure virtual machines and output their names:
Get-AzureVM | ForEach-Object { $_.Name } 4. Use Profiles
PowerShell profiles allow you to customize the PowerShell environment and run commands automatically when PowerShell starts. Use profiles to set up your environment, load modules, and run scripts. For example, you can create a profile that loads the “AzureRM” module and sets up your Azure subscription.
5. Use Remoting
PowerShell remoting allows you to run commands on remote machines, reducing the need for local resources and improving performance. Use the “Enter-PSSession” cmdlet to start a remote session, and the “Invoke-Command” cmdlet to run commands remotely.
6. Use Caching
Caching allows you to store data in memory, reducing the need for repeated requests and improving performance. Use the “New-Object” cmdlet to create a cache object, and the “Add-Object” cmdlet to add data to the cache. For example, you can create a cache object that stores Azure virtual machine information and update it every hour.
By following these tips and tricks, you can optimize the performance of PowerShell in Windows Azure, improving efficiency and productivity. Remember to regularly review and update your PowerShell scripts to ensure they are running at optimal performance.

Real-World Applications: Case Studies of PowerShell for Windows Azure
PowerShell for Windows Azure is a powerful tool that has been successfully implemented in various real-world scenarios. Here are some case studies that highlight the key takeaways and lessons learned from these implementations:
Case Study 1: Automating Azure Resource Deployment
A large financial services company used PowerShell for Windows Azure to automate the deployment of Azure resources, reducing deployment time from hours to minutes. By creating custom PowerShell scripts, the company was able to automate the creation of virtual machines, storage accounts, and networking configurations. The key takeaway from this case study is the importance of automation in reducing deployment time and improving efficiency.
Case Study 2: Implementing Security Policies
A healthcare provider used PowerShell for Windows Azure to implement security policies across its Azure environment. By using PowerShell to automate the process, the provider was able to ensure consistent security policies across all Azure resources. The key takeaway from this case study is the importance of using PowerShell to automate security policies and ensure consistency.
Case Study 3: Optimizing Performance
A software development company used PowerShell for Windows Azure to optimize the performance of its Azure environment. By using PowerShell to monitor Azure resources and automate performance tuning, the company was able to improve application performance and reduce downtime. The key takeaway from this case study is the importance of using PowerShell to monitor and optimize performance in Azure.
Case Study 4: Disaster Recovery
A manufacturing company used PowerShell for Windows Azure to implement a disaster recovery plan for its Azure environment. By using PowerShell to automate the process of backing up Azure resources and creating recovery plans, the company was able to ensure business continuity in the event of a disaster. The key takeaway from this case study is the importance of using PowerShell to automate disaster recovery planning and ensure business continuity.
These case studies demonstrate the versatility and power of PowerShell for Windows Azure. By automating processes, implementing security policies, optimizing performance, and planning for disaster recovery, organizations can leverage PowerShell to improve efficiency, reduce costs, and ensure business continuity in Azure.
Staying Up-to-Date: Resources and Community Support for PowerShell in Windows Azure
To stay up-to-date with PowerShell for Windows Azure, it’s essential to leverage the right resources and community support. Here are some recommendations:
1. Official Documentation
Microsoft provides extensive documentation on PowerShell for Windows Azure. The documentation includes step-by-step guides, command references, and tutorials. Start by visiting the official PowerShell for Azure documentation to learn more.
2. Forums
Microsoft provides several forums for discussing PowerShell for Windows Azure. The forums are monitored by Microsoft support engineers and community experts. Join the Azure PowerShell forum to ask questions and get answers from the community.
3. Blogs
Several blogs provide insights and tips on PowerShell for Windows Azure. Start by following the official Azure Blog and the PowerShell.org blog to stay up-to-date with the latest news and announcements.
4. GitHub
Microsoft provides several GitHub repositories for PowerShell for Windows Azure. The repositories include sample scripts, modules, and tools. Visit the Azure PowerShell GitHub repository to learn more.
5. Training and Certification
Microsoft provides several training and certification programs for PowerShell for Windows Azure. The training programs include online courses, labs, and exams. Visit the Microsoft Learn platform to get started.
By leveraging these resources and community support, you can stay up-to-date with PowerShell for Windows Azure and improve your skills. Remember to regularly check for updates, new features, and best practices to ensure you’re getting the most out of PowerShell for Windows Azure.