What is Docker and Why Install it on Windows?
Docker is a leading platform that enables developers to create, distribute, and manage applications in containers. By using Docker on Windows, you can take advantage of several benefits, including improved productivity, resource efficiency, and consistent environments. Installing Docker in Windows allows developers to build, test, and deploy applications seamlessly across different platforms and environments, ensuring a smooth development workflow.

System Requirements and Preparing Your Windows Machine
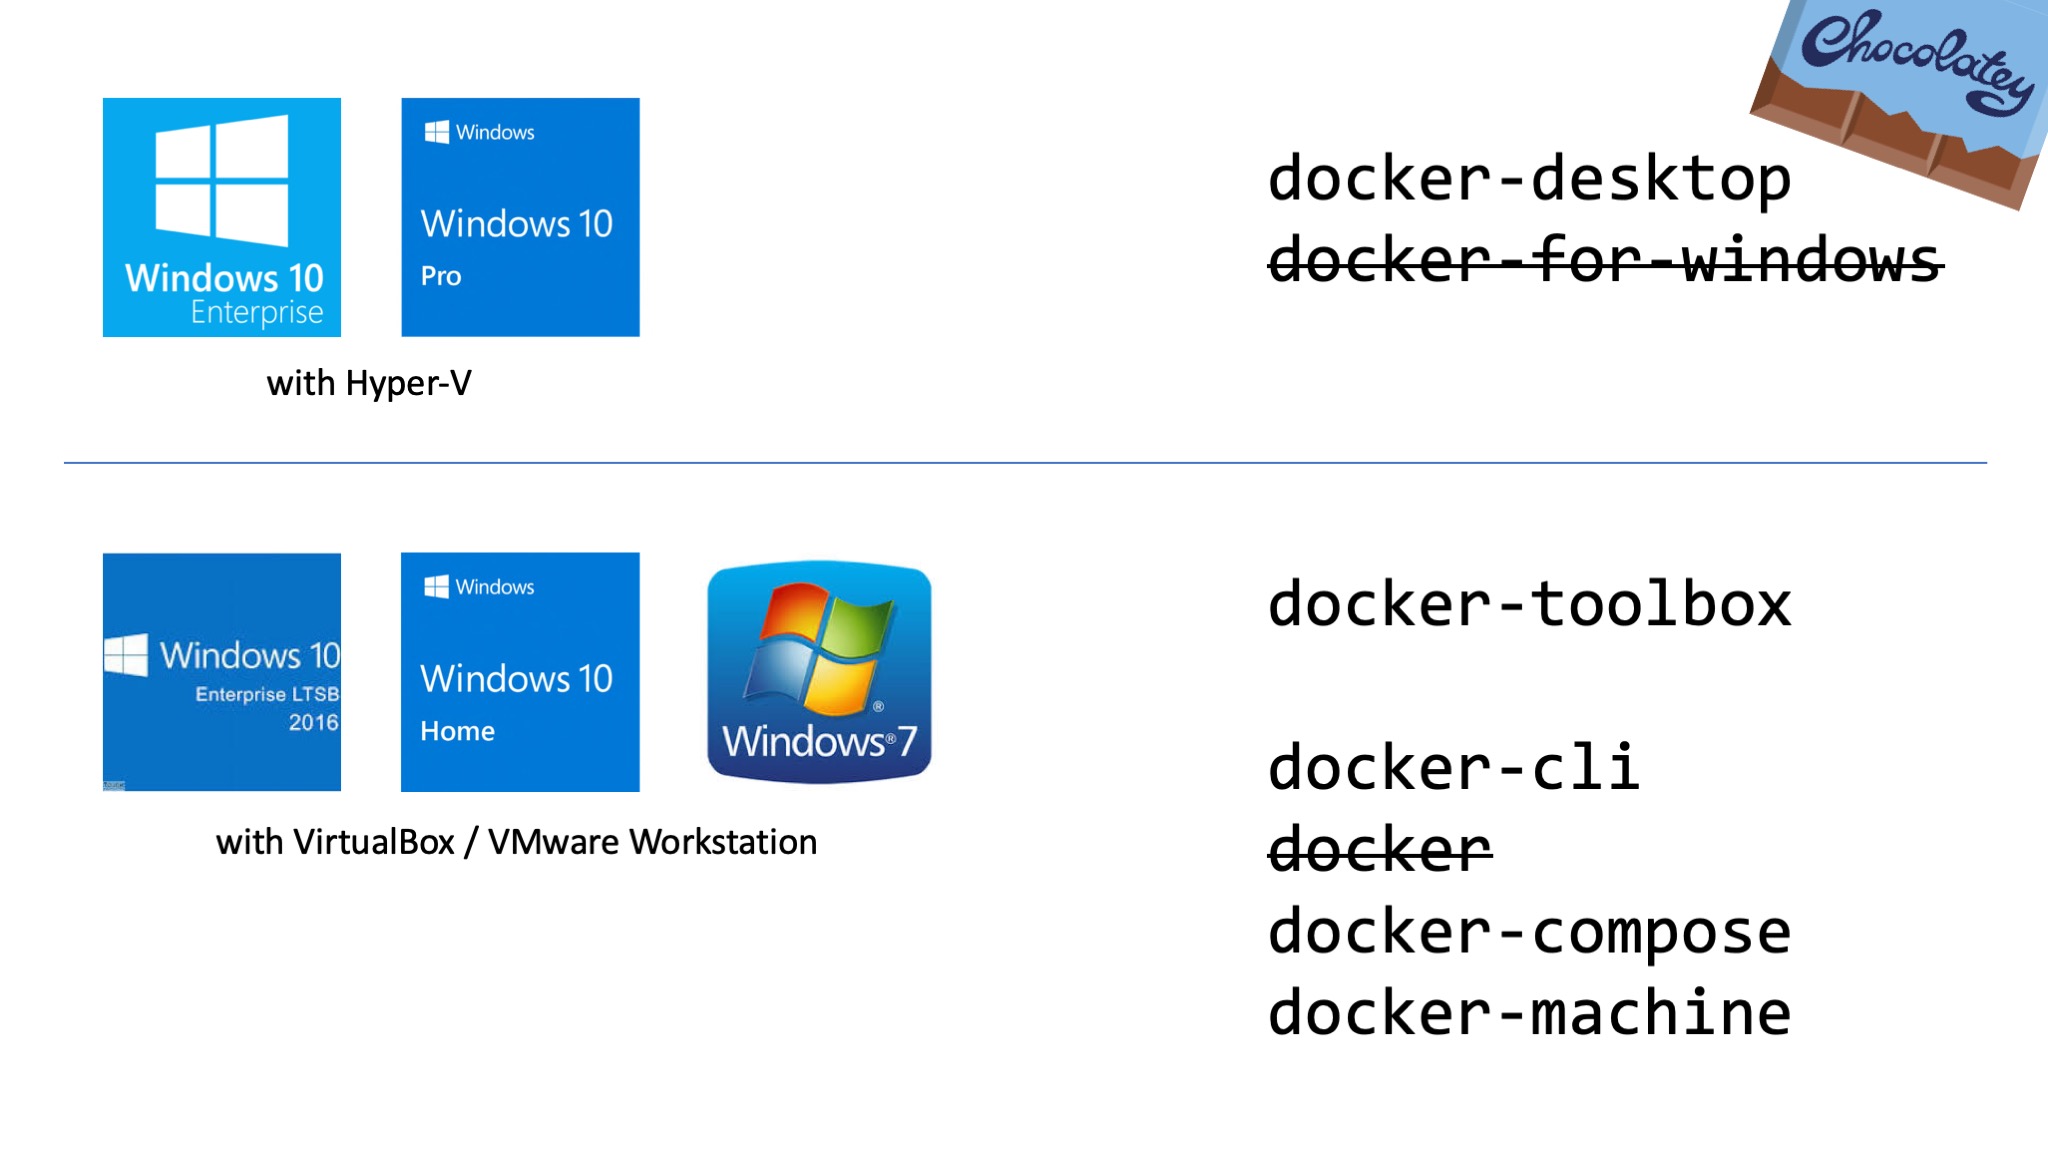
Before installing Docker on your Windows machine, ensure that your system meets the following requirements: a 64-bit version of Windows 10 Pro, Enterprise, or Education (build 1607 or higher); at least 4 GB of RAM; and virtualization enabled in the BIOS. To prepare your Windows machine for Docker installation, follow these steps:
- Check if your system has Hyper-V enabled. If so, you may need to disable it temporarily during the Docker installation process. To do this, open the Windows Control Panel, go to “Programs,” and click on “Turn Windows features on or off.” Uncheck the box next to “Hyper-V” and click “OK” to save the changes. Restart your computer if prompted.
- Enable virtualization in your BIOS settings. This process varies depending on your computer’s manufacturer. Generally, you can access the BIOS settings by pressing a specific key (such as F2, F10, or DEL) during the system boot-up. Once in the BIOS settings, look for the “Virtualization” or “VT-x” option and enable it. Save the changes and exit the BIOS settings. Restart your computer if necessary.
Official Docker Desktop for Windows: An Overview
Docker Desktop for Windows is the official Docker product for Microsoft Windows systems. It integrates seamlessly with the Windows operating system, providing a user-friendly interface for managing Docker containers and images. Some of its key features and advantages include:
- Support for both x86_64 and ARM64 architectures, allowing you to run Docker containers on a wide range of Windows devices.
- Integration with Docker Hub, enabling you to easily share and access Docker images from the cloud.
- Built-in support for Docker Compose, making it easy to define and run multi-container applications.
- Automatic updates to ensure you always have the latest Docker features and security patches.
- Support for Kubernetes, allowing you to manage complex containerized applications at scale.
To download Docker Desktop for Windows, visit the official Docker website and follow the instructions for your specific version of Windows. During installation, ensure that your system meets the prerequisites, such as having a 64-bit version of Windows 10 Pro, Enterprise, or Education (build 1607 or higher), at least 4 GB of RAM, and virtualization enabled in the BIOS.
How to Install Docker Desktop for Windows
To install Docker Desktop for Windows, follow these steps:
- Visit the official Docker website and download the Docker Desktop for Windows installer. Save the installer to your computer.
- Double-click the installer to launch the setup process. Click “Next” to proceed through the welcome screen and the license agreement.
- Choose the installation directory or accept the default location. Ensure that “Add Docker to PATH” is checked to enable easy command-line access to Docker.
- Select any additional components or features you wish to install, such as Linux containers or Kubernetes support. Click “Next” to continue.
- Review the installation settings and click “Install” to begin the installation process. The installer will download and install the necessary components, which may take several minutes.
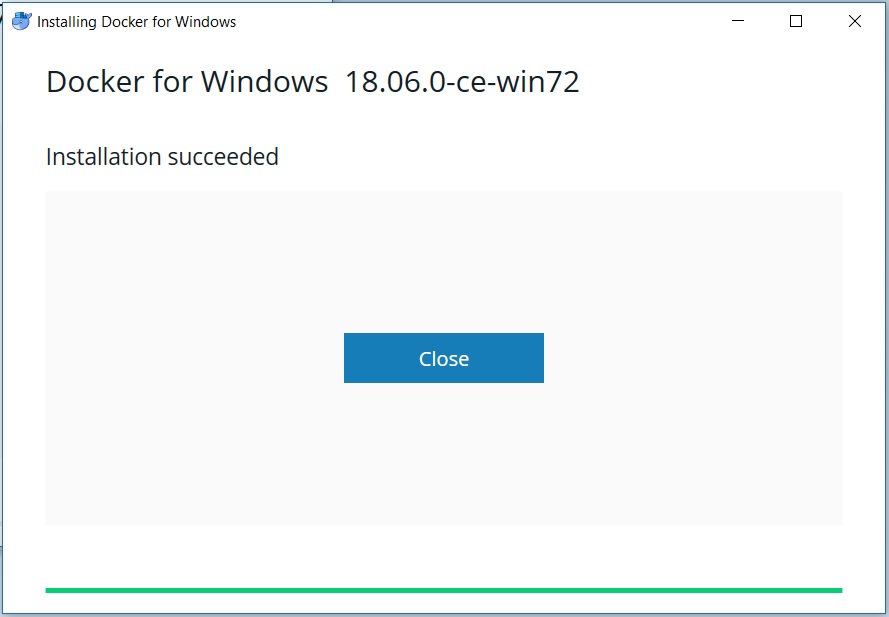
- Once the installation is complete, click “Finish” to launch Docker Desktop for Windows. The Docker application will start automatically, and you may be prompted to sign in with your Docker account.
- Configure any necessary settings, such as proxy or firewall configurations. Docker Desktop for Windows will run in the background and can be accessed from the system tray.
Verifying Docker Installation on Windows
After installing Docker Desktop for Windows, it’s essential to verify that the installation was successful. Follow these steps to confirm that Docker is properly installed and configured:
- Open a command prompt or PowerShell window and type “
docker --version” to check the Docker version. The output should display the installed version of Docker, such as “Docker version 20.10.17, build 100c701.” - Run a test container to ensure that Docker can create and manage containers. Type “
docker run hello-world” in the command prompt or PowerShell window. This command will download the “hello-world” Docker image and run a container that displays a simple message. If the container runs successfully, Docker is properly installed and configured. - Test Docker Compose to ensure that it’s properly installed and configured. Type “
docker-compose --version” in the command prompt or PowerShell window. The output should display the installed version of Docker Compose, such as “docker-compose version 1.29.2, build 5becea4c.”
Troubleshooting Common Docker Installation Issues on Windows
While installing Docker on Windows, users may encounter several common issues. Here are some potential problems and their solutions:
- Firewall settings: Docker may be blocked by the Windows firewall. To resolve this issue, add Docker to the list of allowed applications in the firewall settings. Go to “Control Panel” > “System and Security” > “Windows Defender Firewall” > “Allow an app through Windows Firewall” and ensure that the Docker application is checked.
- Hyper-V conflicts: If Hyper-V is enabled, it may conflict with Docker. To resolve this issue, disable Hyper-V before installing Docker. Go to “Control Panel” > “Programs” > “Turn Windows features on or off” and uncheck the box next to “Hyper-V.” Restart your computer and then install Docker.
- Virtualization issues: Docker requires virtualization to be enabled in the BIOS settings. To resolve this issue, restart your computer and enter the BIOS settings. Enable virtualization and save the changes. Restart your computer and then install Docker.
Getting Started with Docker on Windows: A Brief Tutorial
Now that you have successfully installed Docker on your Windows machine, let’s explore some basic Docker commands and concepts. This tutorial will guide you through creating and running a container, managing containers, and accessing container logs.
Creating and Running a Container
To create and run a container, you need a Docker image. Docker images are read-only templates that contain the necessary instructions to create a container. You can pull an existing image from a Docker registry, such as Docker Hub, or build your own image from a Dockerfile.
- Pull an existing image from Docker Hub. For example, to pull the official Nginx image, run the following command in the command prompt or PowerShell window: “
docker pull nginx.” - Run the container using the pulled image. For example, to run an Nginx container, run the following command: “
docker run --name mynginx -d -p 8080:80 nginx.” This command maps port 8080 on your host machine to port 80 on the container, allowing you to access the Nginx web server from your browser.
Managing Containers
Docker provides several commands to manage containers, such as listing, stopping, and removing containers.
- List all running containers: “
docker ps.” - List all containers (including stopped ones): “
docker ps -a.” - Stop a running container: “
docker stop [container_name].” - Remove a container: “
docker rm [container_name].”
Accessing Container Logs
To view the logs of a running container, use the “docker logs” command followed by the container name or ID. For example, to view the logs of the Nginx container, run the following command: “docker logs mynginx.”
Additional Resources and Next Steps
Now that you have successfully installed Docker on your Windows machine and completed the brief tutorial, you may be interested in learning more about Docker and exploring its advanced features. Here are some additional resources and next steps for further learning:
- Official Docker Documentation: The Docker documentation is a comprehensive resource that covers all aspects of Docker, from basic concepts to advanced features. You can find the documentation on the Docker website at href=”https://docs.docker.com/” target=”_blank” rel=”noopener noreferrer”>https://docs.docker.com/.
- Docker Tutorials: Docker provides a variety of tutorials that cover different use cases and scenarios. You can find the tutorials on the Docker website at https://www.docker.com/101-tutorial.
- Docker Community Forums: The Docker community forums are a great place to ask questions, share knowledge, and connect with other Docker users. You can find the forums on the Docker website at href=”https://forums.docker.com/” target=”_blank” rel=”noopener noreferrer”>https://forums.docker.com/.
- Docker Meetups and Events: Docker hosts and sponsors various meetups and events around the world. You can find a list of upcoming events on the Docker website at https://www.docker.com/community/meetups/.
- Docker Official Blog: The Docker official blog is a great resource to stay up-to-date with the latest news, announcements, and best practices related to Docker. You can find the blog on the Docker website at https://www.docker.com/blog/.
By exploring these resources and engaging with the Docker community, you can deepen your understanding of Docker and its capabilities. Happy Dockering!