Finding and Installing Azure Modules
To begin working with Azure resources in PowerShell, you must first locate and install the necessary Azure modules. These modules, which include cmdlets for managing Azure services, are available through the PowerShell Gallery, a repository of PowerShell modules, scripts, and providers. To access the PowerShell Gallery, you need an active Azure account and PowerShell 5.0 or later.
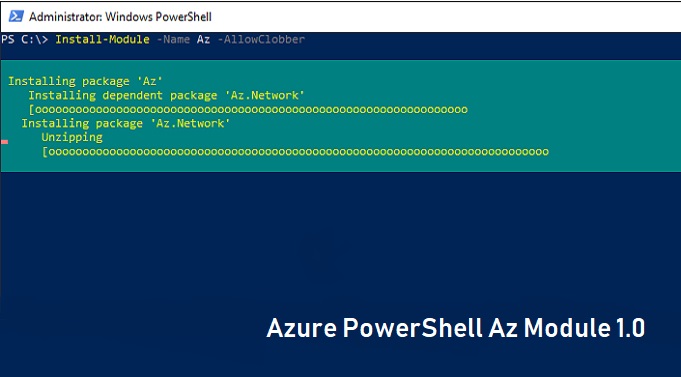
To install Azure modules, open PowerShell and use the Install-Module cmdlet, followed by the name of the module. For example, to install the Az.Accounts module, enter the following command:
Install-Module -Name Az.Accounts
The Install-Module cmdlet downloads and installs the specified module from the PowerShell Gallery. If you are unsure which modules you need, consult the Azure documentation or use the Find-Module cmdlet to search the PowerShell Gallery for available Azure modules.
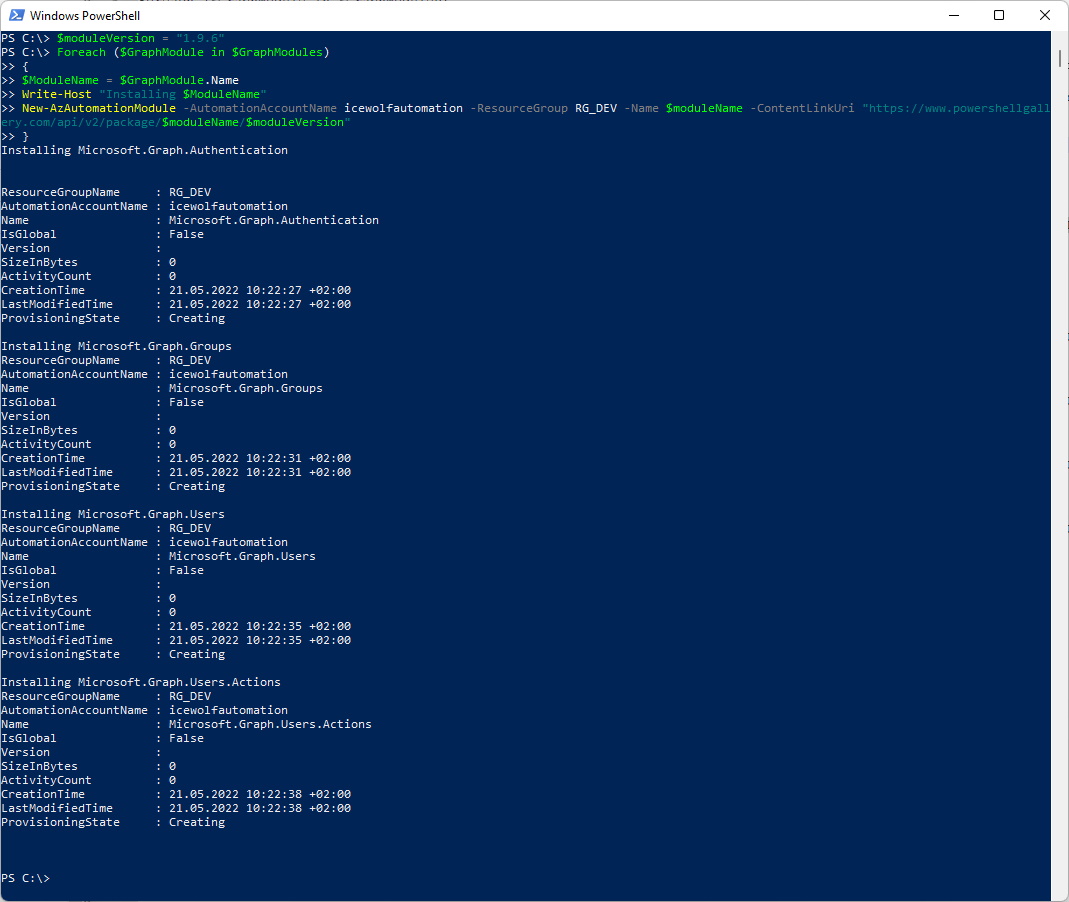
When installing Azure modules, be aware that some modules may have dependencies on other modules. The PowerShell Gallery automatically installs these dependencies, ensuring that you have all the necessary components for working with Azure resources.
Importing Azure Modules in PowerShell
Now that you have installed the required Azure modules, the next step is to import them into your PowerShell session. Importing a module makes its cmdlets available for use in your current session. This is a crucial step, as PowerShell does not automatically load all installed modules. By importing only the modules you need, you can keep your PowerShell environment clean and efficient.
To import an Azure module, use the Import-Module cmdlet followed by the name of the module. For example, to import the Az.Accounts module, enter the following command:
Import-Module -Name Az.Accounts
Unlike installing modules, importing does not download any new files. Instead, it makes the module’s cmdlets available in your current PowerShell session. If you receive an error when importing a module, ensure that the module is installed and that the module name is spelled correctly.
It is essential to understand the difference between installing and importing modules. Installing a module adds it to your system, making it available for import in future PowerShell sessions. Importing a module, on the other hand, makes the module’s cmdlets available in your current session. Failing to import a module will result in errors when attempting to use its cmdlets.

Using Azure Modules in PowerShell Scripts
Once you have imported the necessary Azure modules, you can use their cmdlets in your PowerShell scripts to manage Azure resources. This section demonstrates how to use imported Azure modules in PowerShell scripts, offering examples of common tasks such as creating and managing Azure resources.
Example 1: Authenticating to Azure
To authenticate to Azure in your script, use the Connect-AzAccount cmdlet. This cmdlet prompts you to enter your Azure credentials:
Connect-AzAccount
Example 2: Creating an Azure Resource Group
To create an Azure resource group, use the New-AzResourceGroup cmdlet. Provide a resource group name and location:
$resourceGroupName = "myResourceGroup" $location = "East US" New-AzResourceGroup -Name $resourceGroupName -Location $location
Example 3: Managing Azure Virtual Machines
To manage Azure virtual machines, use cmdlets such as New-AzVM (to create a new virtual machine) or Get-AzVM (to retrieve information about existing virtual machines).
When writing scripts that use Azure modules, follow these best practices:
- Organize your script logically, grouping related commands together.
- Document your script using comments, explaining its purpose and how to use it.
- Test your script thoroughly before deploying it in a production environment.
- Use variables to store values such as resource group names and locations, making your script easier to maintain and update.

Troubleshooting and Common Issues
When working with Azure modules in PowerShell, you may encounter various issues and errors. This section addresses common problems and provides solutions and workarounds to help you resolve them.
Error: Module not found
If you receive an error stating that a module is not found, ensure that the module is installed and imported correctly. Use the Get-Module cmdlet to verify that the module is installed:
Get-Module -Name Az.Accounts -ListAvailable
If the module is not installed, install it using the Install-Module cmdlet. If the module is installed but not imported, import it using the Import-Module cmdlet.
Error: Cmdlet not recognized
If you receive an error stating that a cmdlet is not recognized, ensure that the corresponding module is imported. If the module is imported, check the spelling and capitalization of the cmdlet name.
Error: Insufficient permissions
When managing Azure resources, ensure that your Azure account has the necessary permissions. If you encounter an insufficient permissions error, consult your Azure administrator to review your role assignments.
Finding Additional Help and Resources
For further assistance with Azure modules in PowerShell, consult the following resources:
- Microsoft Documentation: https://docs.microsoft.com/en-us/powershell/azure/?view=azps-8.0
- Azure Community Support: https://social.msdn.microsoft.com/Forums/en-US/home?forum=azurescripting&filter=alltypes&sort=lastpostdesc
- Azure PowerShell GitHub Repository: https://github.com/Azure/azure-powershell

Staying Updated with Azure Modules
Maintaining up-to-date Azure modules is crucial for ensuring compatibility with the latest Azure features and improvements. This section explains the importance of keeping Azure modules current and how to check for updates.
The Importance of Updating Azure Modules
Using outdated Azure modules can lead to compatibility issues, unexpected behavior, and limited access to new Azure features. Regularly updating your Azure modules ensures that you have access to the latest improvements, bug fixes, and security updates.
Checking for Updates
To check for updates to your installed Azure modules, use the Update-Module cmdlet:
Update-Module -Name Az
This cmdlet checks for updates to all Azure modules and, if available, downloads and installs the latest versions.
Scheduling Automatic Updates
To automate the update process, consider using a package manager like OneGet or a PowerShell module management tool like PowerShellGet.
By scheduling regular updates, you can ensure that your Azure modules are always current, reducing the risk of compatibility issues and providing access to the latest Azure features.
Conclusion: Harnessing the Power of Azure Modules in PowerShell
Properly importing and using Azure modules in PowerShell is essential for managing Azure resources effectively. By understanding the process of locating, installing, importing, and updating Azure modules, you can ensure seamless integration and access to the latest Azure features.
In this comprehensive guide, we have covered the key aspects of working with Azure modules in PowerShell, providing examples, best practices, and troubleshooting tips. By following these guidelines, you can create, manage, and automate Azure resources with confidence.
As a reminder, always ensure that your Azure modules are up-to-date to benefit from the latest improvements, bug fixes, and security updates. Regularly checking for updates and addressing any common issues will help maintain a smooth and efficient Azure management experience.
For further exploration, consider diving deeper into PowerShell and Azure documentation, attending training sessions, or engaging with the vibrant Azure community. The possibilities are endless when harnessing the power of Azure modules in PowerShell.