Azure CLI 2.0 is a powerful command-line tool designed for managing Azure resources with efficiency and ease. Built on top of the cross-platform and open-source Azure CLI, this version offers numerous features and benefits that make it a preferred choice for Azure administrators and developers. Its compatibility with various platforms, including Windows, macOS, and Linux, ensures that users can manage their Azure resources from their preferred environment.
Compared to other Azure management tools, Azure CLI 2.0 boasts a more streamlined and user-friendly interface, making it simple for both beginners and experienced professionals to navigate. Its lightweight design and automation capabilities enable users to perform tasks quickly and effectively, reducing the time and effort required to manage Azure resources.
In addition to its ease of use, Azure CLI 2.0 offers several advantages over its predecessor, Azure CLI 1.0. These enhancements include improved performance, new commands and features, and better integration with Azure services. By adopting Azure CLI 2.0, users can take full advantage of these improvements and optimize their Azure management experience.
How to Install Azure CLI 2.0 on Your Preferred Platform
Installing Azure CLI 2.0 on your preferred platform is a straightforward process. This section covers the installation steps for popular operating systems, including Windows, macOS, and Linux. Before proceeding, ensure that your system meets the necessary prerequisites and system requirements.
Installing Azure CLI 2.0 on Windows
To install Azure CLI 2.0 on Windows, follow these steps:
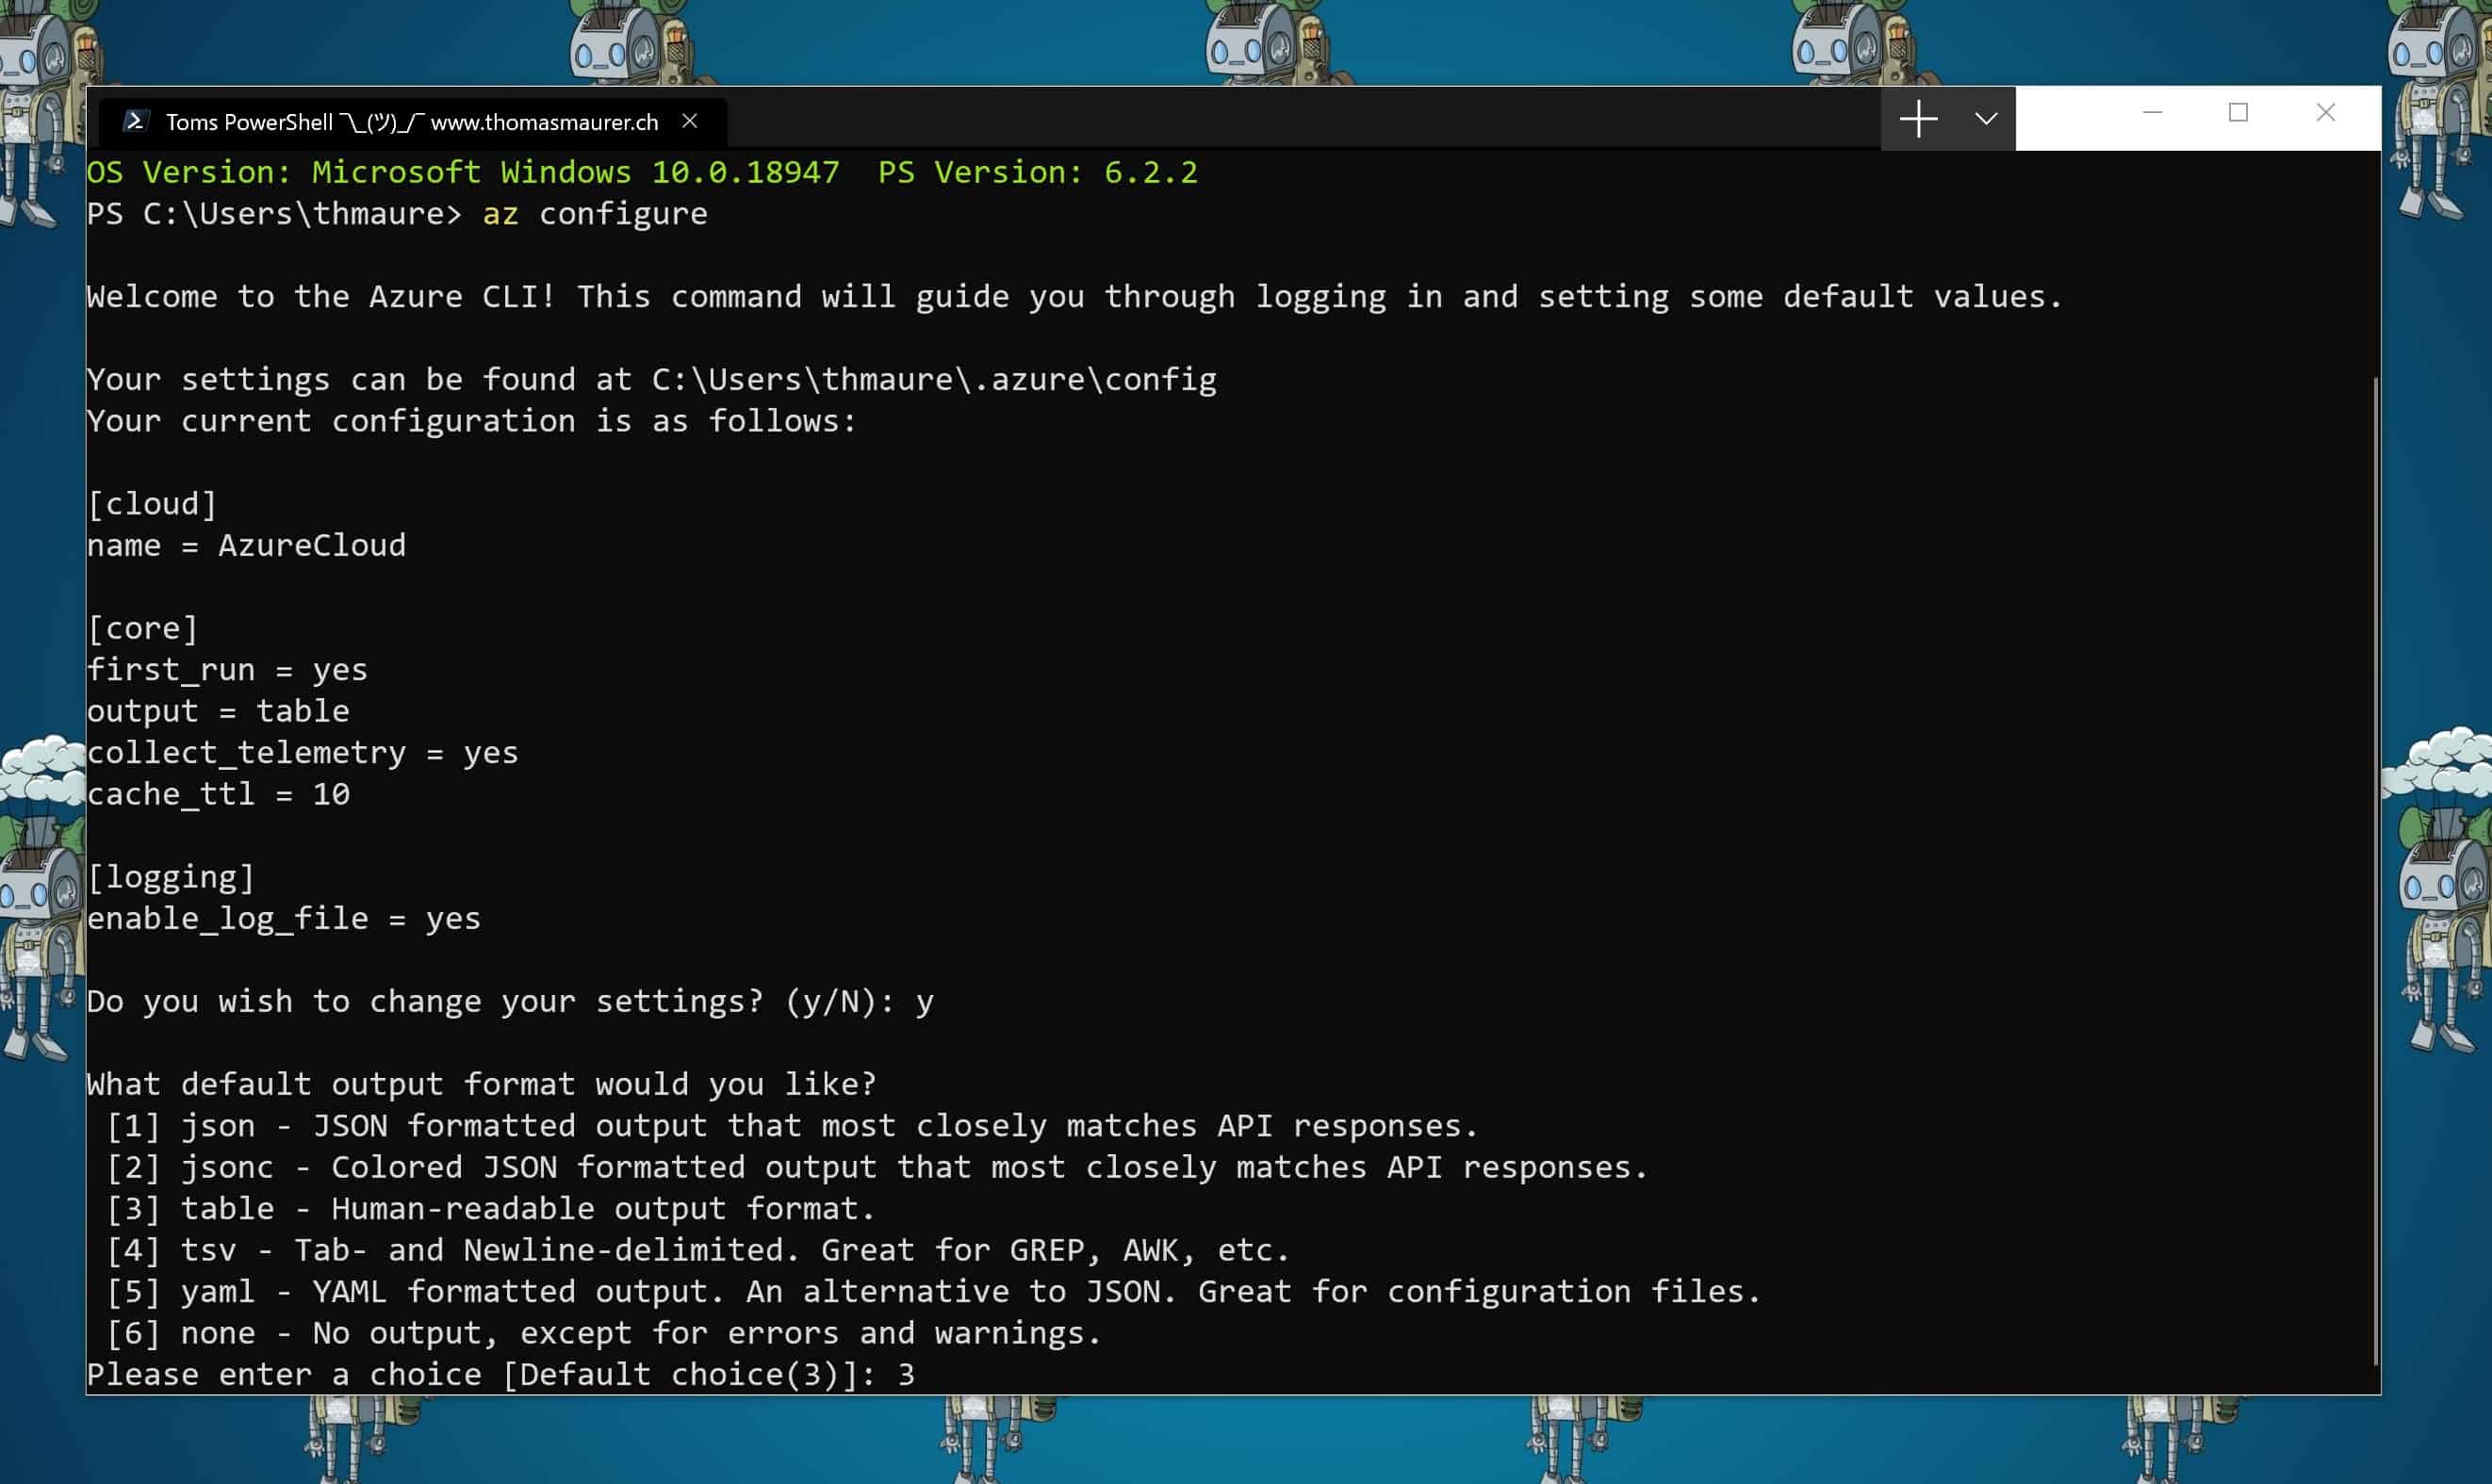
Getting Started with Azure CLI 2.0: Basic Commands and Operations
Azure CLI 2.0 provides a wide range of commands and operations for managing Azure resources. This section introduces essential Azure CLI 2.0 commands and demonstrates how to use them effectively. Familiarize yourself with these basic commands to get started with Azure CLI 2.0.
Logging In to Azure
Before using Azure CLI 2.0, you must log in to your Azure account. Run the following command to authenticate:
az login
Follow the on-screen instructions to sign in using your preferred web browser.
Listing Azure Resources
To view a list of your Azure resources, use the following command:
az resource list
This command displays a list of all resources in your Azure subscription.
Creating Azure Resources
Azure CLI 2.0 allows you to create various resources, such as virtual machines, storage accounts, and resource groups. For example, to create a resource group, run the following command:
az group create --name myResourceGroup --location eastus
Replace myResourceGroup with the desired name for your resource group and eastus with the desired location.
Confirm the deletion when prompted. This command removes the specified resource group and all its associated resources.
Managing Azure Resources with Azure CLI 2.0: Advanced Techniques
Azure CLI 2.0 offers advanced features for managing Azure resources, including resource group management, configuring Azure policies, and using Azure CLI 2.0 with Azure DevOps. This section explores these advanced techniques and provides real-world examples and best practices.
Resource Group Management
Resource groups are essential for organizing and managing Azure resources. Use the following commands to create, update, and delete resource groups:
# Create a resource group az group create --name myResourceGroup --location eastus
Update a resource group
az group update --name myResourceGroup --tags key1=value1 key2=value2
Delete a resource group
az group delete --name myResourceGroup --no-wait --yes
Configuring Azure Policies
Azure policies help ensure that your Azure resources comply with your organization's standards and requirements. Use Azure CLI 2.0 to create, assign, and manage policies:
# Create a policy definition az policy definition create --name myPolicy --display-name "My policy" --description "This is my policy" --policy Microsoft.Compute/virtualMachines/location --params location.allowedValues='[eastus, westus]'
Assign a policy
az policy assignment create --name myPolicyAssignment --scope /subscriptions/ --policy myPolicy
Check policy compliance
az policy state list --scope /subscriptions/
Using Azure CLI 2.0 with Azure DevOps
Integrate Azure CLI 2.0 with Azure DevOps to automate and manage your Azure resources as part of your CI/CD pipelines. Use the following example to deploy a resource group using an Azure CLI 2.0 task:
- task: AzureCLI@2 inputs: azureSubscription: 'My Azure Subscription' scriptType: 'ps' scriptLocation: 'inlineScript' inlineScript: | az group create --name myResourceGroup --location eastus az deployment sub create --location eastus --template-file $(System.DefaultWorkingDirectory)/myTemplate.json
Integrating Azure CLI 2.0 with Azure PowerShell and Azure Cloud Shell
Azure CLI 2.0 can be integrated with Azure PowerShell and Azure Cloud Shell, providing users with a seamless experience for managing Azure resources. This section discusses the advantages of using these tools together and provides examples of their combined usage.
Azure PowerShell
Azure PowerShell is a set of PowerShell modules that allow you to manage Azure resources from the PowerShell console. By combining Azure CLI 2.0 and Azure PowerShell, you can leverage the strengths of both tools:
Use Azure CLI 2.0 for quick, ad-hoc tasks and automation.
Use Azure PowerShell for more complex, PowerShell-specific tasks and scripting.
To use Azure PowerShell and Azure CLI 2.0 together, install both tools on your local machine and ensure they are properly configured. You can then switch between the two as needed, using the appropriate commands for each task.
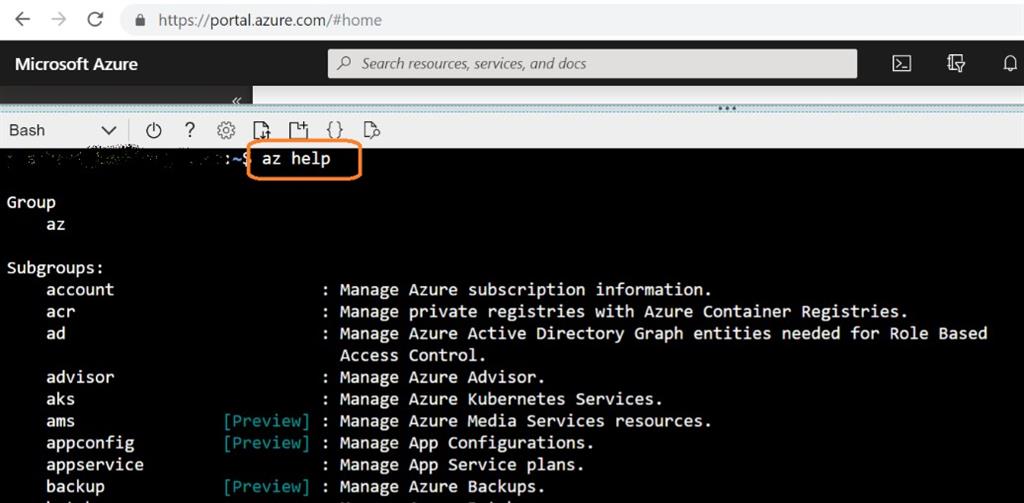
Azure Cloud Shell
Azure Cloud Shell is a web-based, browser-accessible shell for managing Azure resources. It offers the convenience of a cloud-based shell, along with the flexibility to use either Azure CLI 2.0 or Azure PowerShell:
Use Azure CLI 2.0 for a lightweight, cross-platform experience.
Use Azure PowerShell for a more feature-rich, PowerShell-specific experience.
To access Azure Cloud Shell, navigate to the Azure portal and click on the Cloud Shell icon in the upper right-hand corner. Choose either Bash (for Azure CLI 2.0) or PowerShell (for Azure PowerShell) and begin managing your Azure resources.
Optimizing Azure CLI
Troubleshooting Common Azure CLI 2.0 Issues
Even with a powerful and user-friendly tool like Azure CLI 2.0, users may encounter issues from time to time. This section covers common Azure CLI 2.0 issues and provides solutions and workarounds based on real-world scenarios.
Authentication Errors
Authentication errors can occur for various reasons, such as incorrect credentials, expired tokens, or misconfigured Azure CLI 2.0 settings. To troubleshoot authentication errors:
Ensure that you have the latest version of Azure CLI 2.0 installed.
Verify your Azure account credentials and try logging in again using the az login command.
Check the Azure CLI 2.0 configuration settings using the az config get command and ensure they are correct.
Connectivity Problems
Connectivity problems can arise due to network issues, firewall settings, or incorrect Azure resource URLs. To resolve connectivity issues:
Verify that your network connection is stable and functioning properly.
Check your firewall settings to ensure that Azure CLI 2.0 traffic is allowed.
Confirm that you are using the correct Azure resource URLs in your commands.
Command Failures
Command failures can occur due to syntax errors, incorrect arguments, or insufficient permissions. To address command failures:
Double-check the syntax and arguments of the command and ensure they are correct.
Review the Azure CLI 2.0 documentation for the specific command to ensure you are using it as intended.
Staying Up-to-Date with Azure CLI 2.0: News, Updates, and Roadmap
Staying informed about the latest Azure CLI 2.0 news, updates, and roadmap is essential for making the most of this powerful command-line tool. This section explains how to stay updated and participate in the Azure CLI community.
Official Azure CLI 2.0 Documentation
The official Azure CLI 2.0 documentation is the best place to start when looking for news, updates, and roadmap information. The documentation provides detailed information about new features, bug fixes, and deprecated functionalities. Visit the official Azure CLI 2.0 documentation to get started.
Azure CLI 2.0 GitHub Repository
The Azure CLI 2.0 GitHub repository is another valuable resource for staying up-to-date. The repository contains the source code, issue tracker, and contribution guidelines. By visiting the repository, you can stay informed about ongoing development, report issues, and even contribute to the project. Access the Azure CLI 2.0 GitHub repository at https://github.com/Azure/azure-cli.
Azure Updates
Azure Updates is a blog that provides news and updates about Azure services, including Azure CLI 2.0. Subscribing to the Azure Updates RSS feed or following the blog on social media can help you stay informed about the latest Azure CLI 2.0 developments. Visit the Azure Updates blog at https://azure.microsoft.com/en-us/updates/.
Participating in the Azure CLI Community
Active participation in the Azure CLI community can help you stay up-to-date and contribute to the tool's development. Consider joining the Azure Community to connect with other Azure CLI users, share knowledge, and collaborate on projects.