What is AWS Neptune and How Does Pricing Work?
AWS Neptune is a fully managed graph database service that makes it easy to build and run applications that work with highly connected datasets. The pricing structure for AWS Neptune is based on several components, including instance type, storage, and data transfer fees. The cost of using AWS Neptune depends on the specific resources and features that you use, as well as the amount of data that you store and transfer.
The first step in understanding AWS Neptune pricing is to become familiar with the different instance types that are available. AWS Neptune offers a range of instance types with varying levels of memory, compute, and network capacity. The instance type that you choose will impact the cost of using AWS Neptune, so it’s important to choose the right instance type for your needs.
Another important factor to consider when evaluating AWS Neptune pricing is storage. AWS Neptune offers several storage options, including provisioned IOPS and general-purpose SSD. The storage option that you choose will impact the cost of using AWS Neptune, as well as the performance of your database. It’s important to choose the right storage option for your needs to ensure that you’re getting the best possible performance at the lowest possible cost.
Data transfer fees are another important consideration when evaluating AWS Neptune pricing. AWS Neptune charges for data transfer in and out of the service, as well as data transfer between availability zones. The cost of data transfer fees depends on the amount of data that you transfer and the destination of the data transfer. It’s important to understand these fees and how they impact the cost of using AWS Neptune.
In summary, AWS Neptune pricing is based on several components, including instance type, storage, and data transfer fees. To get the best possible price for using AWS Neptune, it’s important to choose the right instance type, storage option, and data transfer plan for your needs. By understanding these factors and how they impact the cost of using AWS Neptune, you can ensure that you’re getting the best possible value for your investment.
Choosing the Right AWS Neptune Instance Type for Your Needs
When it comes to AWS Neptune pricing, one of the most important factors to consider is the instance type. AWS Neptune offers a variety of instance types, each with its own unique combination of memory, compute, and network capabilities. By choosing the right instance type for your needs, you can ensure that you’re getting the best possible performance at the lowest possible cost.
The first thing to consider when choosing an AWS Neptune instance type is the size of your dataset. If you have a large dataset, you’ll need an instance type with more memory to ensure that your database can handle the load. On the other hand, if you have a smaller dataset, you can choose an instance type with less memory and save on costs.
Another important factor to consider is the compute requirements of your application. If your application requires a lot of processing power, you’ll need an instance type with more compute capacity. However, if your application doesn’t require a lot of processing power, you can choose an instance type with less compute capacity and save on costs.
Network requirements are also an important consideration when choosing an AWS Neptune instance type. If your application requires a lot of network bandwidth, you’ll need an instance type with more network capacity. However, if your application doesn’t require a lot of network bandwidth, you can choose an instance type with less network capacity and save on costs.
Here are some of the instance types available in AWS Neptune and how they impact pricing:
- Burstable Performance (T-series): These instance types offer a baseline level of CPU performance with the ability to burst above the baseline when required. They are a good choice for applications with variable CPU usage patterns.
- Memory-Optimized (R-series): These instance types are optimized for memory-intensive workloads and are a good choice for applications that require a lot of memory.
- Compute-Optimized (C-series): These instance types are optimized for compute-intensive workloads and are a good choice for applications that require a lot of processing power.
- Network-Optimized (I-series): These instance types are optimized for network-intensive workloads and are a good choice for applications that require a lot of network bandwidth.
By considering the size of your dataset, the compute requirements of your application, and your network requirements, you can choose the right AWS Neptune instance type for your needs and optimize your costs.

Estimating AWS Neptune Storage Costs
When it comes to AWS Neptune pricing, storage costs are an important factor to consider. AWS Neptune offers several storage options, each with its own pricing structure. By understanding how storage costs are calculated, you can estimate your AWS Neptune costs and choose the right storage option for your needs.
The first thing to consider when estimating AWS Neptune storage costs is the type of storage that you need. AWS Neptune offers two types of storage: general-purpose SSD and provisioned IOPS SSD. General-purpose SSD is a good choice for most workloads, while provisioned IOPS SSD is recommended for workloads that require high levels of input/output (I/O) performance.
Once you’ve chosen the type of storage that you need, you can estimate your AWS Neptune storage costs using the following formula:
Storage cost = (Storage size * Storage price) + (Provisioned IOPS * IOPS price)
Where:
- Storage size: The amount of storage that you’re using, measured in gigabytes (GB).
- Storage price: The price of the storage option that you’ve chosen, measured in dollars per GB per month.
- Provisioned IOPS: The number of IOPS that you’ve provisioned for your storage, if applicable.
- IOPS price: The price of provisioned IOPS, measured in dollars per IOPS per month.
For example, let’s say that you’re using 100 GB of general-purpose SSD storage and you haven’t provisioned any IOPS. The storage cost would be calculated as follows:
Storage cost = (100 GB * $0.10 per GB per month) + (0 IOPS * $0.12 per IOPS per month)
Storage cost = $10 per month
On the other hand, if you’re using 100 GB of provisioned IOPS SSD storage with 3,000 provisioned IOPS, the storage cost would be calculated as follows:
Storage cost = (100 GB * $0.30 per GB per month) + (3,000 IOPS * $0.12 per IOPS per month)
Storage cost = $60 + $36
Storage cost = $96 per month
As you can see, provisioned IOPS SSD storage is more expensive than general-purpose SSD storage. However, it offers higher levels of I/O performance, which can be beneficial for certain workloads.
In addition to the storage cost, you may also incur data transfer costs if you’re transferring data in or out of AWS Neptune. Data transfer costs are calculated separately from storage costs and are based on the amount of data that you transfer and the destination of the transfer.
By understanding how storage costs are calculated in AWS Neptune, you can estimate your costs and choose the right storage option for your needs. Regular monitoring and cost optimization can help you keep your AWS Neptune costs in check.
Managing Data Transfer Costs in AWS Neptune
When it comes to AWS Neptune pricing, data transfer costs are an important factor to consider. AWS Neptune charges for data transfer in and out of the service, as well as between availability zones. By understanding how data transfer costs are calculated and how to manage them, you can optimize your AWS Neptune costs and avoid unexpected charges.
Data transfer costs in AWS Neptune are based on the amount of data that you transfer and the destination of the transfer. Here are the different data transfer options available and how they impact pricing:
- Internet data transfer: This is data transfer in or out of AWS Neptune over the internet. Internet data transfer is free for data transferred in to AWS Neptune, but there is a charge for data transferred out of AWS Neptune. The charge for internet data transfer varies depending on the region and the amount of data transferred.
- VPC data transfer: This is data transfer between AWS Neptune and other services within the same Amazon Virtual Private Cloud (VPC). VPC data transfer is free for data transferred between AWS Neptune and other services within the same availability zone. However, there is a charge for data transferred between availability zones.
- Direct Connect data transfer: This is data transfer between AWS Neptune and other services using AWS Direct Connect. Direct Connect data transfer is free for data transferred in to AWS Neptune, but there is a charge for data transferred out of AWS Neptune. The charge for Direct Connect data transfer varies depending on the region and the amount of data transferred.
To manage data transfer costs in AWS Neptune, here are some best practices to follow:
- Use VPC data transfer whenever possible: VPC data transfer is free for data transferred between AWS Neptune and other services within the same availability zone. By using VPC data transfer, you can avoid internet data transfer charges and reduce your AWS Neptune costs.
- Monitor your data transfer usage regularly: Regular monitoring can help you identify any unexpected spikes in data transfer usage and take action to reduce your costs. AWS Cost Explorer can help you view and analyze your AWS Neptune costs, including data transfer costs.
- Set budgets and alerts: You can set budgets and alerts in AWS Cost Explorer to help you manage your AWS Neptune costs. Budgets can help you stay within your desired spending limit, while alerts can notify you when your costs exceed a certain threshold.
- Optimize your data transfer usage: You can optimize your data transfer usage by reducing the amount of data that you transfer and using more efficient data transfer methods. For example, you can use data compression to reduce the amount of data that you transfer, or use AWS Direct Connect instead of internet data transfer to reduce your costs.
By following these best practices, you can manage data transfer costs in AWS Neptune and optimize your costs. Regular monitoring and cost optimization can help you keep your AWS Neptune costs in check.
![]()
Optimizing AWS Neptune Costs with Reserved Instances
If you’re looking to optimize your AWS Neptune costs, Reserved Instances (RIs) are a great option to consider. RIs allow you to reserve database capacity for a one- or three-year term, and in return, you can receive significant discounts compared to on-demand pricing.
Here’s how RIs work in AWS Neptune:
- Reservation model: With RIs, you reserve database capacity for a one- or three-year term. This allows you to receive significant discounts compared to on-demand pricing.
- Instance size and type: You can choose the instance size and type that best meets your needs. AWS Neptune offers a variety of instance types, including memory-optimized, compute-optimized, and general-purpose instances.
Scope : You can choose between a regional or a zone scope for your RIs. Regional RIs provide coverage across all Availability Zones in a region, while zone scope RIs provide coverage in a specific Availability Zone.- Payment options: You can choose between three payment options: All Upfront, Partial Upfront, or No Upfront. The more you pay upfront, the greater the discount you receive.
To choose the right RI option for your needs, consider the following factors:
- Workload patterns: Consider your workload patterns and how they may change over time. If you have a predictable workload, RIs may be a good option. However, if your workload is variable, you may want to consider on-demand pricing or Savings Plans.
- Instance size and type: Consider the instance size and type that best meets your needs. Make sure to choose an instance size and type that is appropriate for your workload and can provide the performance and capacity that you need.
- Scope: Consider the scope that best meets your needs. If you need coverage across all Availability Zones in a region, choose a regional scope. If you need coverage in a specific Availability Zone, choose a zone scope.
- Payment options: Consider the payment option that best meets your needs. If you have the budget, All Upfront may provide the greatest discount. However, if you want more flexibility, Partial Upfront or No Upfront may be a better option.
By using RIs in AWS Neptune, you can optimize your costs and receive significant discounts compared to on-demand pricing. Regular monitoring and cost optimization can help you keep your Neptune costs in check and ensure that you’re getting the best possible value for your investment.

Monitoring and Controlling AWS Neptune Costs with Cost Explorer
If you’re looking to manage and optimize your AWS Neptune costs, AWS Cost Explorer is a powerful tool that can help. Cost Explorer allows you to view and analyze your Neptune costs, set budgets, and receive alerts when costs exceed a certain threshold.
Here’s how to use Cost Explorer to manage your AWS Neptune costs:
- View and analyze Neptune costs: Cost Explorer provides a visual interface that allows you to view and analyze your Neptune costs over time. You can view costs by service, tag, or custom filter, and you can drill down into specific areas to get a more detailed view of your costs.
- Set budgets: With Cost Explorer, you can set budgets for your Neptune costs. This allows you to set a spending limit and receive alerts when your costs exceed that limit. You can set budgets at the account or tag level, and you can set up notifications to be sent to specific email addresses or Amazon SNS topics.
- Receive alerts: Cost Explorer allows you to receive alerts when your Neptune costs exceed a certain threshold. You can set up alerts based on actual costs, forecasted costs, or both. You can also set up alerts to be sent to specific email addresses or Amazon SNS topics.
To get started with Cost Explorer, follow these steps:
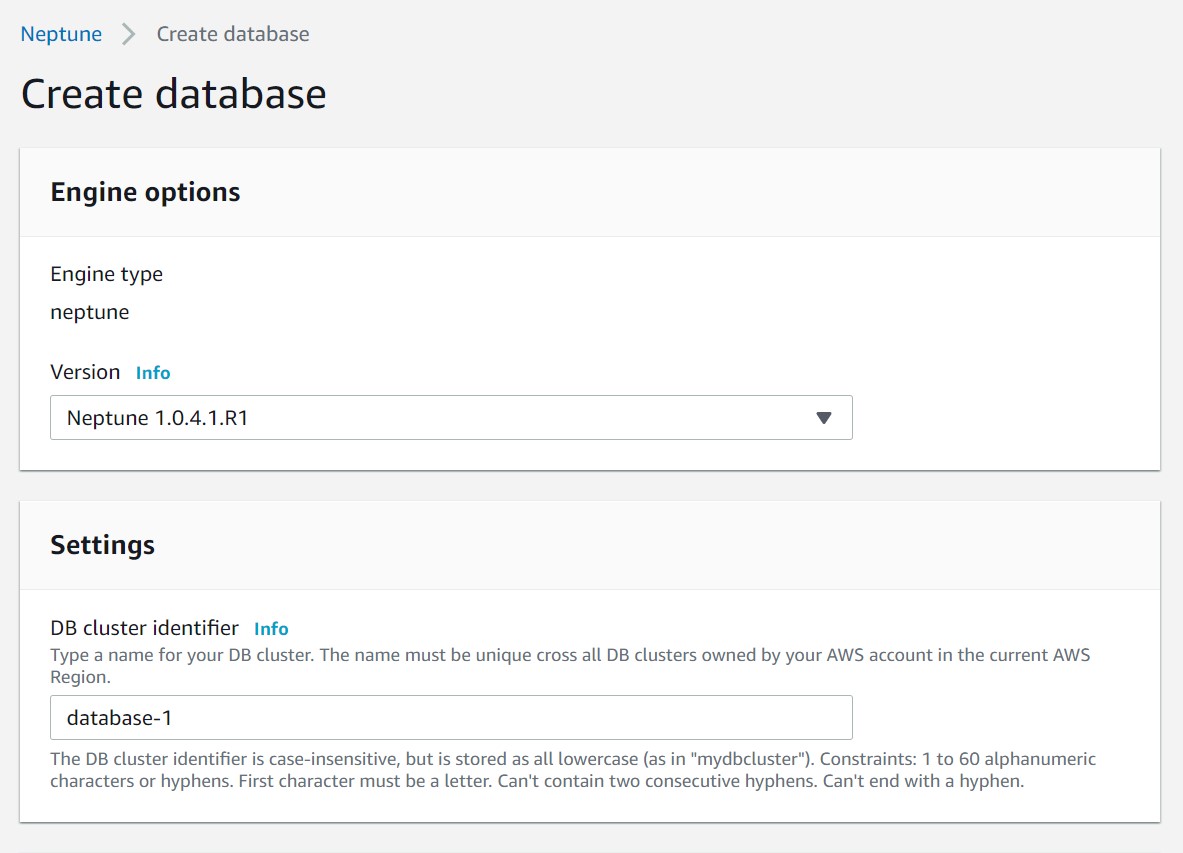
- Sign in to the AWS Management Console.
- Navigate to the Cost Explorer page.
- Select the Neptune service from the list of services.
- Choose the time period that you want to view costs for.
- Customize the view by adding filters or tags.
- Set budgets and alerts as needed.
By using Cost Explorer to monitor and control your AWS Neptune costs, you can ensure that you’re getting the best possible value for your investment. Regular monitoring and cost optimization can help you keep your Neptune costs in check and avoid unexpected charges.

Comparing AWS Neptune Pricing with Other Graph Database Services
When it comes to graph database services, AWS Neptune is just one of many options available. If you’re considering using Neptune, it’s important to compare its pricing with that of other services to ensure that you’re getting the best possible value for your investment.
Here are some of the most popular graph database services on the market and how they stack up against AWS Neptune in terms of cost and features:
- Azure Cosmos DB: Azure Cosmos DB is a fully managed graph database service offered by Microsoft. It offers similar features to AWS Neptune, including automatic scaling and high availability. However, its pricing model is different, with a focus on request units (RUs) rather than instance type and storage. This can make it more difficult to compare costs directly with Neptune, but in general, Cosmos DB tends to be more expensive than Neptune for comparable workloads.
- Google Cloud Bigtable: Google Cloud Bigtable is a NoSQL database service that can be used for graph data. It offers similar features to Neptune, including automatic scaling and high availability. However, its pricing model is different, with a focus on storage and operations. This can make it more difficult to compare costs directly with Neptune, but in general, Bigtable tends to be less expensive than Neptune for comparable workloads.
- OrientDB: OrientDB is an open-source graph database that can be self-hosted or used as a managed service. It offers similar features to Neptune, including automatic indexing and high availability. However, its pricing model is different, with a focus on server and storage resources. This can make it more difficult to compare costs directly with Neptune, but in general, OrientDB tends to be less expensive than Neptune for comparable workloads.
When comparing the pricing of different graph database services, it’s important to consider more than just the cost. You should also consider the features and capabilities of each service, as well as the level of support and documentation available. By taking all of these factors into account, you can make an informed decision about which service is the best fit for your needs and budget.
Best Practices for Managing AWS Neptune Costs
When it comes to managing AWS Neptune costs, there are several best practices that you can follow to ensure that you’re getting the best possible value for your investment. Here are some tips to keep in mind:
- Regularly monitor your costs: One of the most important things you can do to manage your AWS Neptune costs is to regularly monitor them. Use tools like AWS Cost Explorer to view and analyze your costs, and set up alerts to be notified when your costs exceed a certain threshold. This will help you identify any unexpected charges and take action to address them.
- Optimize your instance type and storage: Choosing the right AWS Neptune instance type and storage options can have a significant impact on your costs. Consider your memory, compute, and network requirements when choosing an instance type, and choose the storage option that best meets your needs. Provisioned IOPS can be more expensive than general-purpose SSD, but it may be necessary for certain workloads.
- Use Reserved Instances: AWS Neptune offers Reserved Instances, which can help you save up to 75% on your Neptune costs. Consider using Reserved Instances if you have predictable workloads and can commit to using a certain amount of capacity for a period of time.
- Manage data transfer costs: Data transfer costs can add up quickly in AWS Neptune, especially if you’re transferring data over the internet. Consider using VPC data transfer instead of internet data transfer to reduce your costs. Additionally, consider using data compression and other optimization techniques to reduce the amount of data that you need to transfer.
- Implement cost optimization strategies: There are several cost optimization strategies that you can implement to reduce your AWS Neptune costs. For example, you can use auto-scaling to automatically adjust your capacity based on demand, or you can use spot instances to take advantage of unused capacity at a lower cost.
By following these best practices, you can effectively manage your AWS Neptune costs and ensure that you’re getting the best possible value for your investment. Remember, regular monitoring, cost optimization, and budgeting are key to keeping your Neptune costs in check.