
Virtualization: An Overview
Virtualization is a technology that allows multiple operating systems to run on a single physical machine as virtual machines (VMs). This technology offers numerous benefits, especially in a Windows environment. By setting up a Windows virtual machine on a Windows host, users can efficiently utilize resources, isolate environments, and simplify application testing and deployment processes. In the context of this guide, we will discuss how to create and manage a Windows VM on a Windows host using Hyper-V, Microsoft’s native virtualization solution. The primary focus will be on optimizing the experience for Windows users, ensuring a seamless and productive virtual environment.
Choosing the Right Virtualization Solution
When it comes to running a Windows virtual machine on a Windows host, users have several virtualization solutions at their disposal. Each solution offers unique features, advantages, and limitations. Here, we will discuss three popular virtualization platforms: Hyper-V, VirtualBox, and VMware Workstation.
Microsoft Hyper-V
Hyper-V is a native virtualization solution built into Windows Pro, Enterprise, and Education editions. It provides a robust and secure environment for running multiple VMs on a single host. Hyper-V supports both Windows and Linux guest operating systems and offers features such as live migration, dynamic memory, and storage resource pools.
Oracle VirtualBox
VirtualBox is a free, open-source virtualization platform compatible with various host operating systems, including Windows. It is an excellent choice for users who require a lightweight, portable, and easy-to-use virtualization solution. VirtualBox supports guest operating systems such as Windows, Linux, and macOS, and offers features like snapshots, remote desktop, and USB device sharing.
VMware Workstation
VMware Workstation is a commercial virtualization solution for Windows and Linux hosts. It is renowned for its high performance, stability, and extensive feature set. VMware Workstation supports a wide range of guest operating systems, including various Windows and Linux distributions, and offers advanced features like virtual network customization, 3D graphics acceleration, and vSphere integration.
Each virtualization solution has its pros and cons, and the best choice depends on the user’s specific needs and requirements. Factors such as cost, performance, compatibility, and ease of use should be considered when selecting a virtualization solution for running a Windows VM on a Windows host.

Installing Hyper-V as a Virtualization Solution
Hyper-V is a powerful virtualization solution built into Windows Pro, Enterprise, and Education editions. To use Hyper-V for running a Windows virtual machine on a Windows host, follow these step-by-step instructions:
-
Confirm compatibility: Ensure that your computer supports virtualization technology. To do this, open the Task Manager, click on the Performance tab, and then click on CPU. If Virtualization is enabled, you are good to proceed.
-
Enable Hyper-V: Press Win + X and select Apps and Features. Click on Programs and Features on the right side, then click Turn Windows features on or off. Expand Hyper-V, check the boxes for Hyper-V Platform and Hyper-V Management Tools, and click OK.
-
Restart your computer: Follow the on-screen instructions to restart your computer and complete the Hyper-V installation process.
-
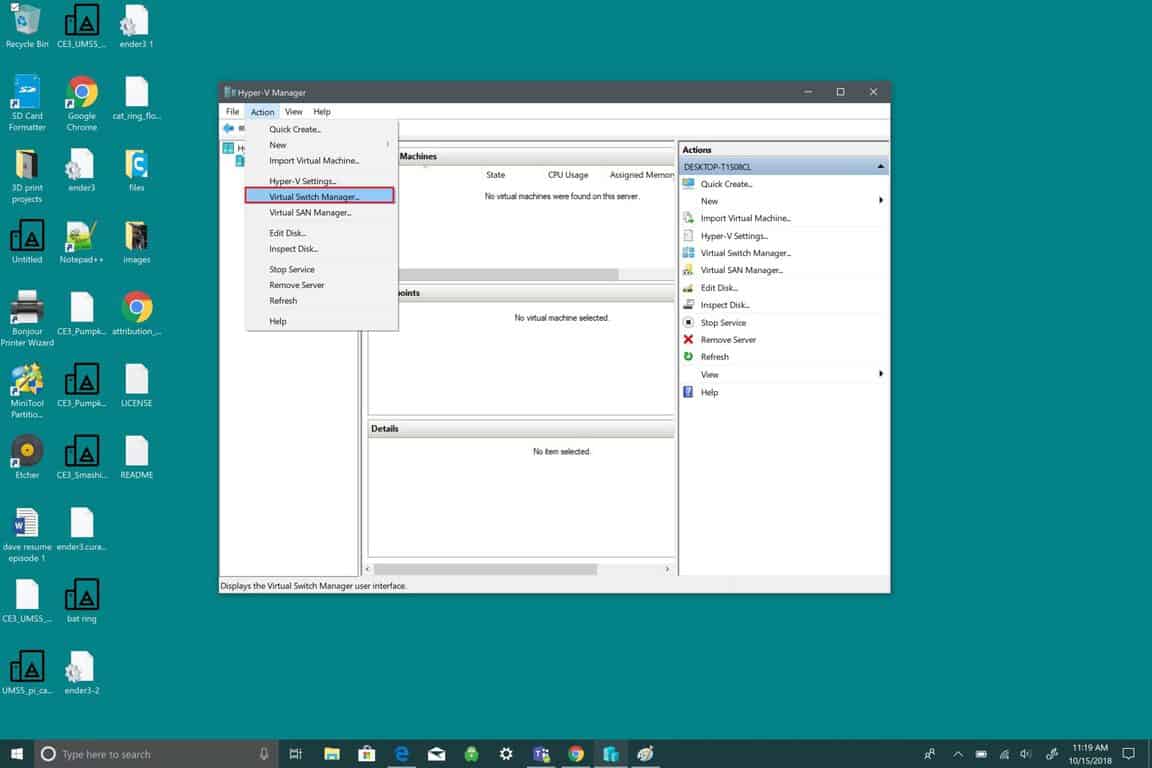
Configure Hyper-V: After the restart, open the Hyper-V Manager by searching for it in the Start menu. You can now configure virtual networks, storage, and other settings according to your preferences.
By following these steps, you will have successfully enabled and configured Hyper-V on your Windows host, allowing you to create and manage Windows virtual machines seamlessly.
Creating a Windows Virtual Machine on Hyper-V
Once Hyper-V is installed and configured, you can create a new Windows virtual machine by following these steps:
-
Open the Hyper-V Manager: Press Win + R, type hyper-v-mgr, and press Enter.
-
Create a new virtual machine: In the Hyper-V Manager, click on Action and then New followed by Virtual Machine.
-
Specify the name and location: In the Before You Begin page of the New Virtual Machine Wizard, click Next. Enter a name for your VM and specify the location, then click Next.
-
Select the generation: Choose the generation of your VM based on the guest operating system you plan to install. For newer Windows OS versions, select Generation 2. Click Next.
-
Assign memory: On the Assign Memory page, specify the amount of memory to allocate to the VM. Keep in mind the recommended memory requirements for the guest Windows OS, then click Next.
-
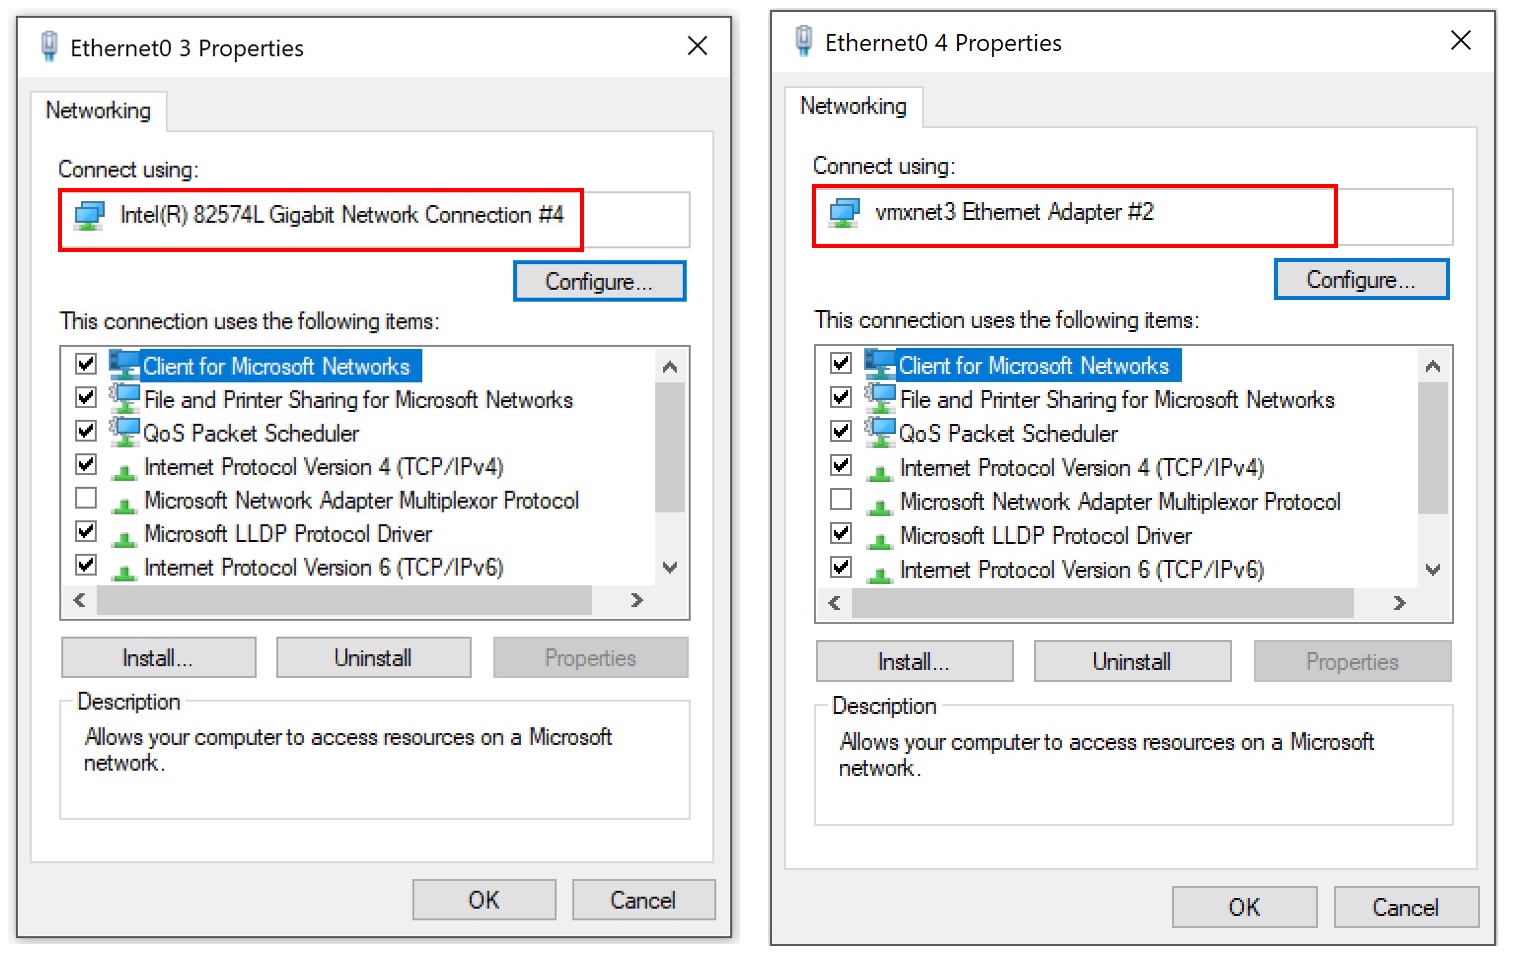
Configure networking: On the Configure Networking page, select the virtual switch to connect your VM to the network, then click Next.
-
Set up the VM’s storage: On the Connect Virtual Hard Disk page, choose to create a new virtual hard disk or use an existing one. Specify the size, location, and file format, then click Next.
-
Install an operating system: On the Installation Options page, select Install an operating system from a bootable CD/DVD-ROM if you have an ISO file, or choose Install an operating system later if you want to attach the ISO file after creating the VM. Click Next and then Finish to create the VM.
By following these steps, you will have successfully created a new Windows virtual machine on Hyper-V, ready for the installation of a guest Windows operating system.
Installing a Guest Windows Operating System
After creating a new Windows virtual machine on Hyper-V, you can proceed with installing a fresh Windows operating system. Here’s a detailed walkthrough:
-
Attach the installation media: In the Hyper-V Manager, select the VM you just created. Click on Action, then Settings, and navigate to the DVD Drive section. Choose Image file and browse to the location of your Windows OS ISO file. Click OK to save the changes.
-
Start the virtual machine: With the VM selected, click on Action and then Start. The VM will begin booting from the attached installation media.
-
Install the operating system: Follow the on-screen instructions to install the Windows operating system. When prompted, select the desired customization options, such as language, time and currency format, and keyboard layout. Click Next to proceed.
-
Select the installation type: Choose Custom: Install Windows only (advanced) to perform a clean installation. Click Next.
-
Partition the hard drive: Choose the unallocated space on your virtual hard disk and click Next to begin the installation process. The Windows OS setup will format the partition and copy the necessary files.
-
Set up the administrator account: Once the installation is complete, you will be prompted to set up an administrator account and configure the system settings. Follow the on-screen instructions to complete the setup process.
By following these steps, you will have successfully installed a fresh Windows operating system on your Windows virtual machine, providing a solid foundation for your virtualized environment.

Optimizing Performance of a Windows VM on Windows
To ensure optimal performance of your Windows virtual machine on a Windows host, consider the following best practices:
Allocate sufficient resources
Properly allocate resources such as CPU cores, memory, and storage to your Windows VM. Assigning adequate resources will help prevent performance bottlenecks and ensure smooth operation.
Use dynamic memory
Dynamic memory allows the VM to use only the memory it needs, expanding and contracting as required. This feature can help balance the memory usage between the host and the guest operating system, improving overall performance.
Disable unnecessary services
Disable any unnecessary services running on the guest Windows OS to reduce resource usage and improve performance. Be cautious when disabling services, as some may be critical for proper functionality.
Optimize storage
Use solid-state drives (SSDs) for storing VMs, as they offer faster read and write speeds compared to traditional hard disk drives (HDDs). Additionally, consider using a storage format optimized for virtual machines, such as VHDX, to further enhance performance.
Regularly update the guest operating system
Keep the guest Windows OS up-to-date with the latest security patches and updates. Regular updates can help maintain system stability, improve performance, and protect against potential security threats.
Monitor VM performance
Regularly monitor the performance of your Windows VM using tools like Hyper-V Manager or third-party monitoring software. Monitoring allows you to identify and address any performance issues before they become critical.
By following these best practices, you can significantly improve the performance of your Windows VM on a Windows host, ensuring a smooth and productive virtualized environment.
Managing and Monitoring Virtual Machines
Efficiently managing and monitoring your Windows virtual machines (VMs) on a Windows host is crucial for maintaining a smooth and productive virtualized environment. Here’s how to effectively manage and monitor VMs using Hyper-V Manager and other third-party tools:
Using Hyper-V Manager
Hyper-V Manager is a built-in tool in Windows that allows you to manage and monitor your VMs. With Hyper-V Manager, you can perform various tasks, such as creating and configuring VMs, starting and stopping VMs, and connecting to virtual machines.
Connecting to a Virtual Machine
To connect to a running VM, select the VM in Hyper-V Manager and click on Connect. This action will open a console window, allowing you to interact with the VM as if it were a physical machine.
Monitoring VM Performance
Hyper-V Manager provides performance metrics for each VM, enabling you to monitor resource usage and identify potential performance issues. To access these metrics, select a VM and click on Inspect followed by View All Performance Metrics.
Using Third-Party Tools
Various third-party tools are available to help manage and monitor Windows VMs on a Windows host. These tools often provide advanced features, such as real-time performance monitoring, automated alerts, and centralized management for multiple VMs.
VMware vSphere Client
For users running VMware Workstation, the vSphere Client offers comprehensive management and monitoring capabilities. The vSphere Client allows you to create, configure, and manage VMs, as well as monitor performance metrics and set up automated alerts.
Microsoft System Center Virtual Machine Manager
Microsoft System Center Virtual Machine Manager (SCVMM) is a powerful tool for managing and monitoring Hyper-V VMs. SCVMM provides centralized management, real-time performance monitoring, and automated alerts for multiple VMs, making it an ideal solution for larger virtualized environments.
By effectively managing and monitoring your Windows VMs, you can ensure optimal performance, identify and address potential issues, and maintain a productive virtualized environment.
Troubleshooting Common Issues
Running a Windows virtual machine (VM) on a Windows host can sometimes lead to various issues and challenges. Here are some common problems and their practical solutions and workarounds:
Issue 1: Insufficient resources
If your VM is experiencing performance issues, it might be due to insufficient resources allocated to the VM. To resolve this, ensure that you have allocated enough memory, CPU cores, and storage to your VM.
Issue 2: Network connectivity issues
If your VM is having trouble connecting to the network, verify that the virtual switch is properly configured and that the VM has been assigned the correct network settings.
Issue 3: Guest operating system installation failures
If you encounter issues while installing the guest Windows OS, ensure that the installation media is working correctly and that the VM has been configured with the correct settings, such as storage and memory.
Issue 4: VM crashes or freezes
If your VM frequently crashes or freezes, try disabling unnecessary services, updating the guest operating system, or reducing the allocated resources to the VM.
Issue 5: Data corruption or loss
To prevent data corruption or loss, ensure that you have a proper backup strategy in place and that you regularly create checkpoints or snapshots of your VMs.
By understanding and addressing these common issues, you can ensure a smooth and productive Windows VM on Windows experience.
