
What is an Azure Resource Group?
An Azure Resource Group is a logical container in Azure that holds related resources, such as virtual machines, storage accounts, and networking components. By grouping related resources together, Azure Resource Groups simplify management, organization, and monitoring of resources on the Azure platform. The Resource Group Blade is a user interface for managing Azure Resource Groups, providing a centralized location for creating, deleting, and modifying resource groups.

The Resource Group Blade: A Key Component of Azure Resource Management
The Resource Group Blade is a user interface in the Azure Portal that allows users to manage Azure Resource Groups effectively. It provides a centralized location for creating, deleting, and modifying resource groups, making it easier to organize, manage, and monitor related resources on the Azure platform. The Resource Group Blade offers several features and functionalities that simplify resource management, including:
- An intuitive interface for managing resource groups
- The ability to create, delete, and modify resource groups quickly and easily
- A centralized location for viewing and managing resources within a resource group
- The ability to tag resources for improved organization and management
- Integration with Azure Policy for enforcing compliance and governance
By using the Resource Group Blade, users can streamline their Azure Resource Management processes, improve organization, and simplify management and monitoring. The Resource Group Blade is an essential tool for any Azure user looking to manage their resources effectively.
How to Access the Resource Group Blade in Azure Portal
Accessing the Resource Group Blade in the Azure Portal is a straightforward process. Follow these steps to access the Resource Group Blade:
- Log in to the Azure Portal at https://portal.azure.com/ with your Azure account credentials.
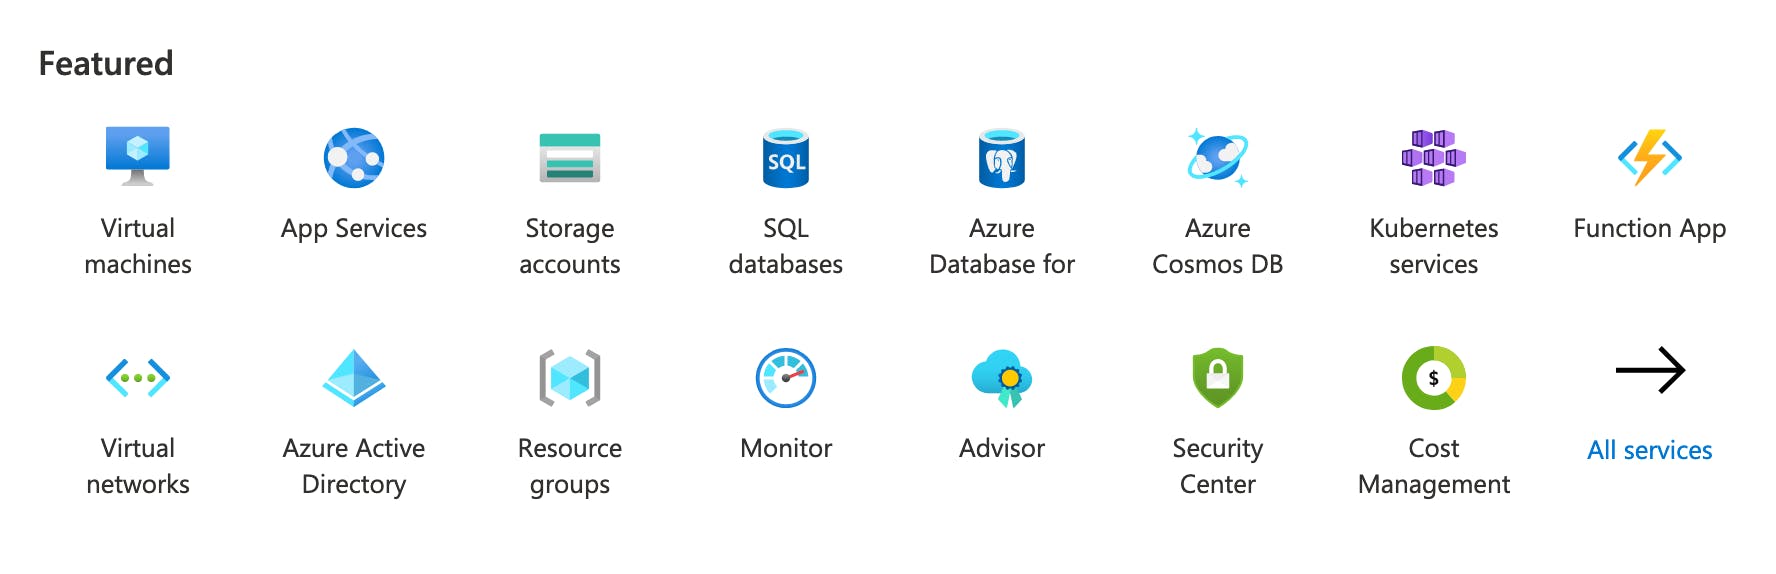
- From the left-hand menu, click on “All services” to view a list of Azure services.
- In the search box at the top of the screen, type “Resource groups” and select the “Resource groups” option from the dropdown list.
- You will now see a list of all the resource groups in your Azure subscription. To access the Resource Group Blade, click on the name of the resource group you want to manage.
- The Resource Group Blade will now appear, providing you with a centralized location for managing the resources within your resource group.
By following these steps, you can quickly and easily access the Resource Group Blade in the Azure Portal and start managing your Azure resources effectively.

Key Features and Functionalities of the Resource Group Blade
The Resource Group Blade offers several key features and functionalities that make it an essential tool for managing Azure Resource Groups. These features include:
- Creating Resource Groups: The Resource Group Blade allows users to create new resource groups quickly and easily. To create a new resource group, simply click on the “Add” button, select the subscription, provide a name and region for the resource group, and click “Create.”
- Deleting Resource Groups: Users can also delete resource groups from the Resource Group Blade. To delete a resource group, select the resource group from the list, click on the “Delete resource group” button, and confirm the deletion.
- Modifying Resource Groups: The Resource Group Blade also allows users to modify existing resource groups. Users can change the name, region, and tags associated with a resource group by selecting the resource group and clicking on the “Modify” button.
- Resource Group Dashboard: The Resource Group Blade provides a dashboard view of the resources within a resource group. Users can view the status, location, and type of resources within the resource group and access each resource’s settings and properties.
- Resource Group Tags: The Resource Group Blade allows users to tag resource groups with metadata, making it easier to organize and manage resources. Users can add, modify, and delete tags associated with a resource group from the Resource Group Blade.
- Resource Group Lock: The Resource Group Blade also offers a resource lock feature, which prevents resources within a resource group from being accidentally deleted or modified. Users can apply a lock to a resource group, making it read-only or preventing deletion.
By using these key features and functionalities effectively, users can streamline their Azure Resource Management processes, improve organization, and simplify management and monitoring.
Benefits of Using the Resource Group Blade for Azure Resource Management
The Resource Group Blade offers several benefits for Azure Resource Management, including:
- Improved Organization: The Resource Group Blade allows users to organize their Azure resources into logical groups, making it easier to manage and monitor resources. Users can group resources based on project, application, or environment, making it easier to manage access and permissions.
- Simplified Management: The Resource Group Blade simplifies resource management by providing a centralized location for managing resources within a resource group. Users can view the status, location, and type of resources within the resource group and access each resource’s settings and properties.
- Streamlined Monitoring: The Resource Group Blade also simplifies monitoring by providing a dashboard view of the resources within a resource group. Users can view the status and performance of resources within the resource group and quickly identify and resolve issues.
- Automated Deployment: The Resource Group Blade supports automated deployment through Azure Resource Manager templates, making it easier to deploy and manage resources at scale.
- Resource Locking: The Resource Group Blade offers a resource lock feature, which prevents resources within a resource group from being accidentally deleted or modified. This feature helps ensure the integrity and availability of critical resources.
- Tagging: The Resource Group Blade allows users to tag resources with metadata, making it easier to organize and manage resources. Users can add, modify, and delete tags associated with a resource group or individual resources from the Resource Group Blade.
By using the Resource Group Blade for Azure Resource Management, users can improve organization, simplify management, and streamline monitoring, making it easier to manage and scale their Azure resources.

Best Practices for Using the Resource Group Blade
To get the most out of the Resource Group Blade and improve Azure Resource Management, follow these best practices:
- Naming Conventions: Use a consistent naming convention for resource groups and resources within the resource group. This will make it easier to identify and manage resources within the resource group.
- Tagging Resources: Use tags to categorize resources within the resource group. This will make it easier to filter and search for resources based on specific criteria, such as cost center, environment, or project.
- Resource Locks: Use resource locks to prevent critical resources from being accidentally deleted or modified. This will help ensure the integrity and availability of critical resources.
- Automated Deployment: Use Azure Resource Manager templates to automate the deployment and management of resources within the resource group. This will help ensure consistency and repeatability in resource deployment and management.
- Monitoring and Alerts: Set up monitoring and alerts for resources within the resource group. This will help you quickly identify and resolve issues before they impact your applications or services.
- Backup and Disaster Recovery: Set up backup and disaster recovery for critical resources within the resource group. This will help ensure the availability and recoverability of critical resources in the event of a disaster or failure.
By following these best practices, you can improve Azure Resource Management, simplify management and monitoring, and ensure the availability and recoverability of critical resources.
Common Issues and Troubleshooting Tips for the Resource Group Blade
While the Resource Group Blade is a powerful tool for Azure Resource Management, users may encounter some common issues. Here are some troubleshooting tips to help you resolve these issues effectively:
- Access Issues: If you are unable to access the Resource Group Blade, ensure that you have the necessary permissions and that you are logged in to the correct Azure account. If you are still experiencing issues, try clearing your browser cache or using a different browser.
- Performance Problems: If the Resource Group Blade is slow or unresponsive, try refreshing the page or closing and reopening the blade. If the problem persists, check your internet connection and ensure that there are no network issues.
- Bug Fixes: If you encounter bugs or errors while using the Resource Group Blade, check the Azure portal documentation and release notes for any known issues and workarounds. If you are unable to resolve the issue, consider contacting Azure support for assistance.
- Resource Group Operations: If you are experiencing issues with creating, deleting, or modifying resource groups, ensure that you have the necessary permissions and that the resource group name and location meet the Azure naming and location requirements. If the problem persists, consider contacting Azure support for assistance.
By following these troubleshooting tips, you can effectively resolve common issues with the Resource Group Blade and ensure smooth Azure Resource Management.
Comparing the Resource Group Blade with Other Azure Resource Management Tools
While the Resource Group Blade is a powerful tool for Azure Resource Management, it is not the only tool available. Here is a comparison of the Resource Group Blade with other Azure Resource Management tools, such as Azure PowerShell, Azure CLI, and Azure Resource Manager templates:
- Azure PowerShell: Azure PowerShell is a command-line tool that allows users to manage Azure resources using PowerShell scripts. It offers a wide range of cmdlets for managing Azure resources, including creating, deleting, and modifying resource groups. Azure PowerShell is ideal for automating repetitive tasks and integrating Azure Resource Management with other tools and systems.
- Azure CLI: Azure CLI is a command-line tool that allows users to manage Azure resources using cross-platform commands. It offers a wide range of commands for managing Azure resources, including creating, deleting, and modifying resource groups. Azure CLI is ideal for users who prefer a command-line interface or who need to manage Azure resources on non-Windows platforms.
- Azure Resource Manager Templates: Azure Resource Manager templates are JSON files that define the infrastructure and configuration of Azure resources. They allow users to automate the deployment and management of Azure resources using code. Azure Resource Manager templates are ideal for users who need to deploy and manage Azure resources at scale or who need to ensure consistency and repeatability in resource deployment and management.
When to use each tool depends on the specific use case and user preference. The Resource Group Blade is ideal for users who prefer a graphical user interface and need to manage Azure resources on an ad-hoc basis. Azure PowerShell and Azure CLI are ideal for users who need to automate repetitive tasks or integrate Azure Resource Management with other tools and systems. Azure Resource Manager templates are ideal for users who need to deploy and manage Azure resources at scale or who need to ensure consistency and repeatability in resource deployment and management.
